BasherBrink21
Member
- Thread starter
- #41

Follow along with the video below to see how to install our site as a web app on your home screen.
Note: This feature may not be available in some browsers.
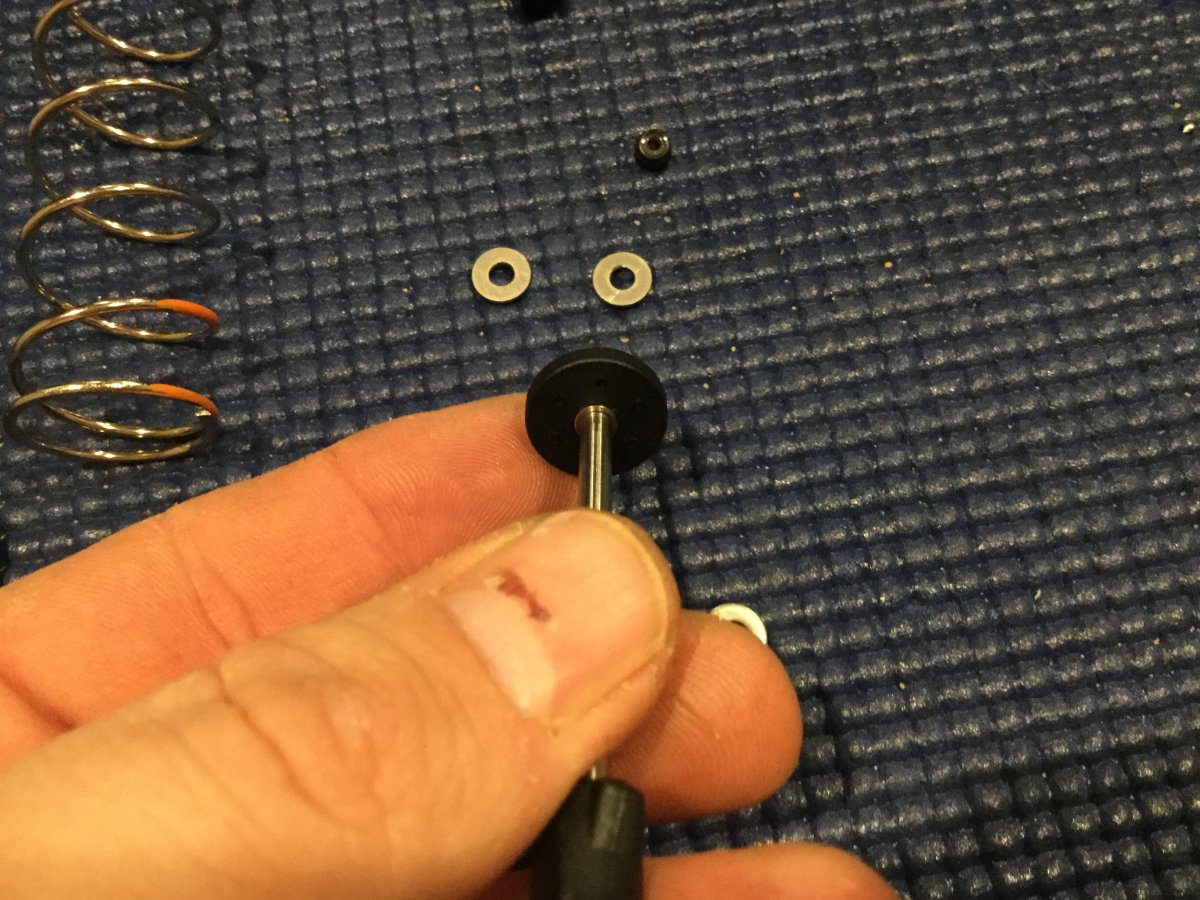
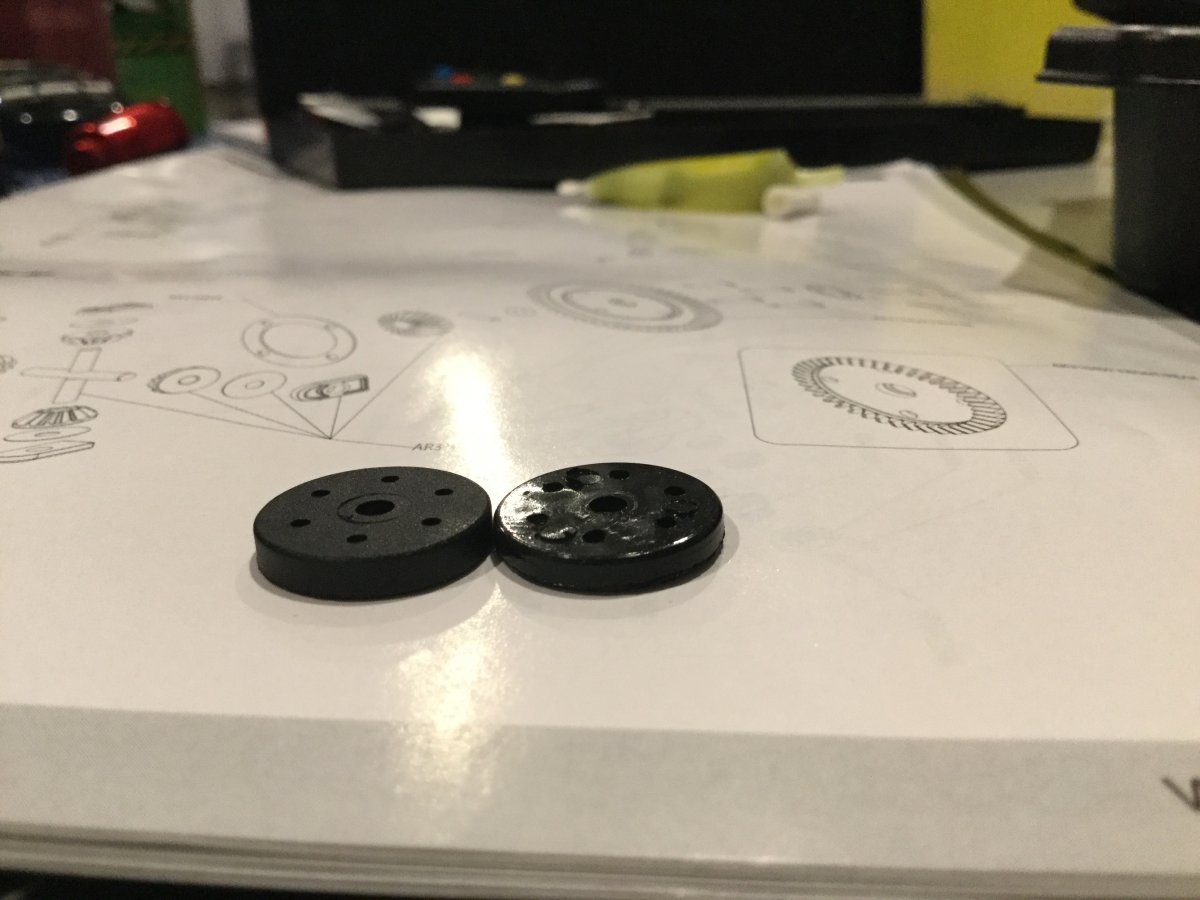
Thanx very much! And what is the advantage off replacing the bushings with seald bearings?There's 4 brass bushings in the steering assembly up front that can be replaced with sealed bearings. They're below the screws that secure the front mudflaps. There's an exploded diagram at the back of the manual.
Thanx very much! And what is the advantage off replacing the bushings with seald bearings?
Thanx very much! And what is the advantage off replacing the bushings with seald bearings?

Thanx!Better movement since it's a bearing in there less friction
Thanx!Smoother steering and your servo won't have to work as hard. I haven't upgraded mine yet...Just haven't had the time. I'm not sure if it makes a discernible difference or if it's just placebo but those that have done it are happy they did.
I pulled the manual. You want to replace the 4 bushings with part number AR340067 on page 55. You can get them from Amazon. Look for Fast Eddie's Sealed Bearing kit for the Kraton.
No it's just the manual, not large print. I like to use manual for part numbers and use for sizes and dimensions.
My wife rolls her eyes then sighs, when I walk in with a new yellow package..LolLol. It looked larger than the manual.
I've thought about reprinting the exploded diagrams from the PDF on larger paper. The manual is invaluable. My wife just rolls her eyes at me every time she sees me with my nose in it.
Say I can get back to you in the am early brain fried for the nightHey bb21,
You upgraded your steering bearings correct? I started to tear mine down and I can't get beyond removing the plastic m-shaped bracket (P/N AR320376) that sits on top of the large aluminum plate. I think there's a screw holding it in from the other side upside down. How did you get yours off?
Also, did you have to remove the top screw holding in your A-arms so you could get them out of the way? I'm trying to keep the teardown minimal.
Yes remove the two top pins for the upper a arms...watch the little plastic spacers on the pins one in the front it's thicker and two things ones at other end....then remove the top plate..that exposes the top.of the bell crank. You will need to remove both stereking links from the bell crank also...from there pretty easy lift bell crank up replace bushings good to goHey bb21,
You upgraded your steering bearings correct? I started to tear mine down and I can't get beyond removing the plastic m-shaped bracket (P/N AR320376) that sits on top of the large aluminum plate. I think there's a screw holding it in from the other side upside down. How did you get yours off?
Also, did you have to remove the top screw holding in your A-arms so you could get them out of the way? I'm trying to keep the teardown minimal.
Little tough getting in but good to go. I installed the front and back with the four screws providedWhen you guys installed the tbone bumper did you use all four of the included screws? The longer ones went in fine in front but it didn't feel right screwing the last 1/8th inch of threads on the back pair. I didn't want to force them but I don't know what they're screwing into either.
bb21,
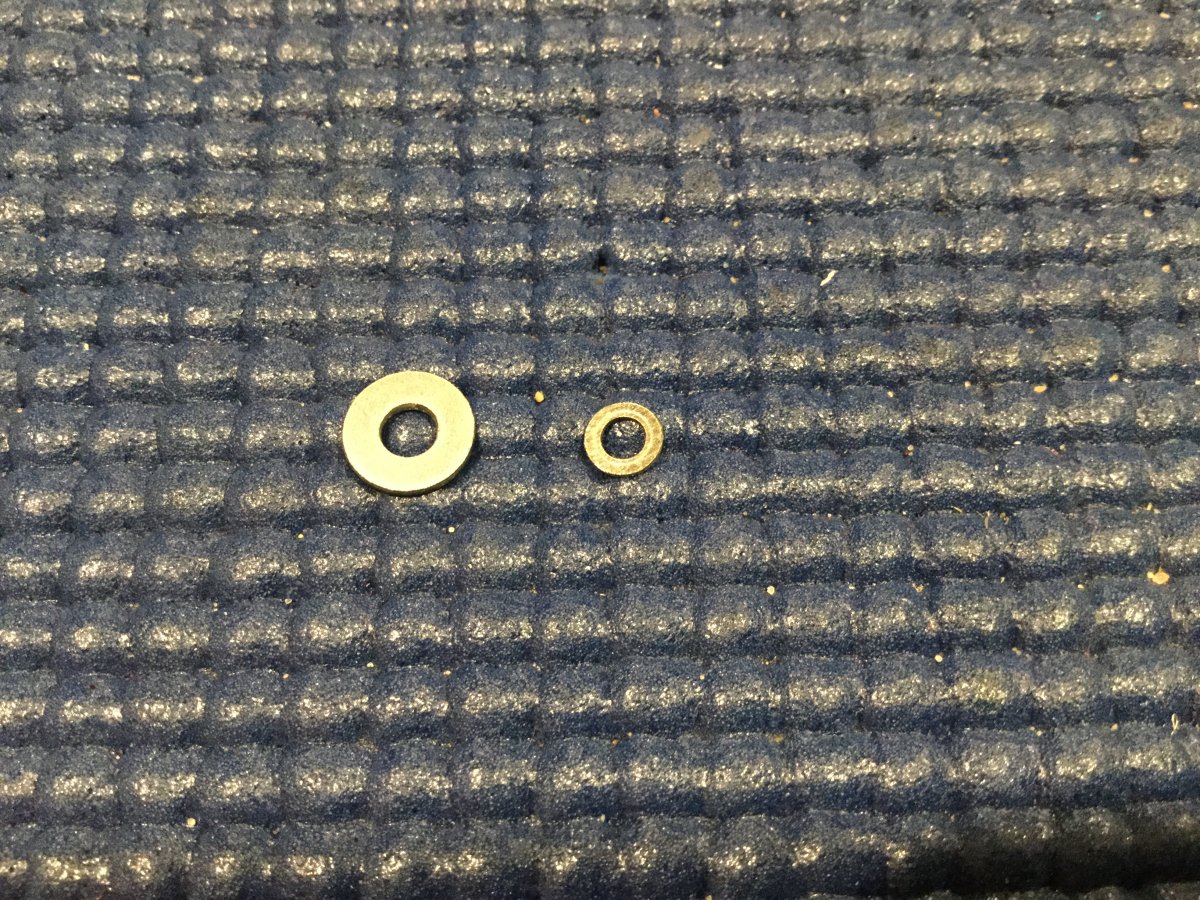
Two Q's - What are the dimensions of the washers you used in your shocks and did you use any of the stock grommets in your servo mount?
Thanks in advance.
PS - I heard a rumor you broke your Outcast. What happened?!
I could put my caliper on them tonight and take a pic believe they are 3mm but I will check tonightThanks. I sure I can get those at a local HW store. What are the dimensions?
Register and gain access to Discussions, Reviews, Tech Tips, How to Articles, and much more - on the largest Arrma RC community for RC enthusiasts that covers all aspects of the Arrma-RC brand!
Register Today It's free! This box will disappear once registered!
