yomamma219
Fairly New Member
- Messages
- 69
- Reaction score
- 104
- Arrma RC's
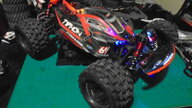
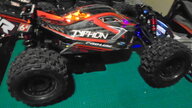
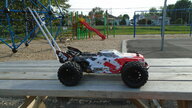
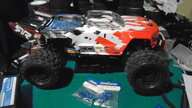
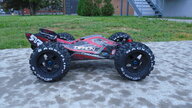
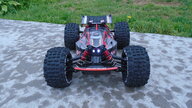
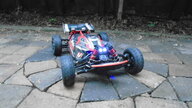
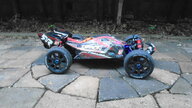
- Typhon 6s
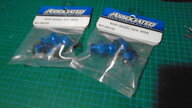
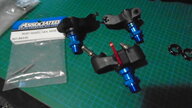
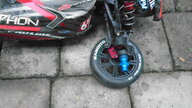
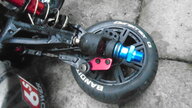
So I bought some extended 17mm hexes to go down the cheap truggified route. Problem I can't seem to get off the stock hexes on my V4 typhon. I thought the order of operations was:
1)remove set screw inside using 2.5mm Allen wrench (with an adjustable wrench holding the hex itself),
2) tap out pin and take off hex,
3) reverse steps 1&2, and you're complete
The issue is that the first set screw I tried to take out will not budge. To the point of starting to strip things (hex corners, Allen wrench). Is there a step I am missing, is the set screw reverse threaded, or what? The video I watched of someone doing it on a senton made it look simple and not terribly tough so I feel like I am missing something.
Full disclosure I have only tried this on my front right hex, started stripping stuff, so I figured I'd ask for a second opinion on the forums before continuing on.
")