Printing TPU tips?

This site may earn a commission from merchant affiliate
links, including eBay, Amazon, and others.
Yep, that is what I bought. EZR Struder. Man, that plunger takes some super thumbs to push in, doesn't it!
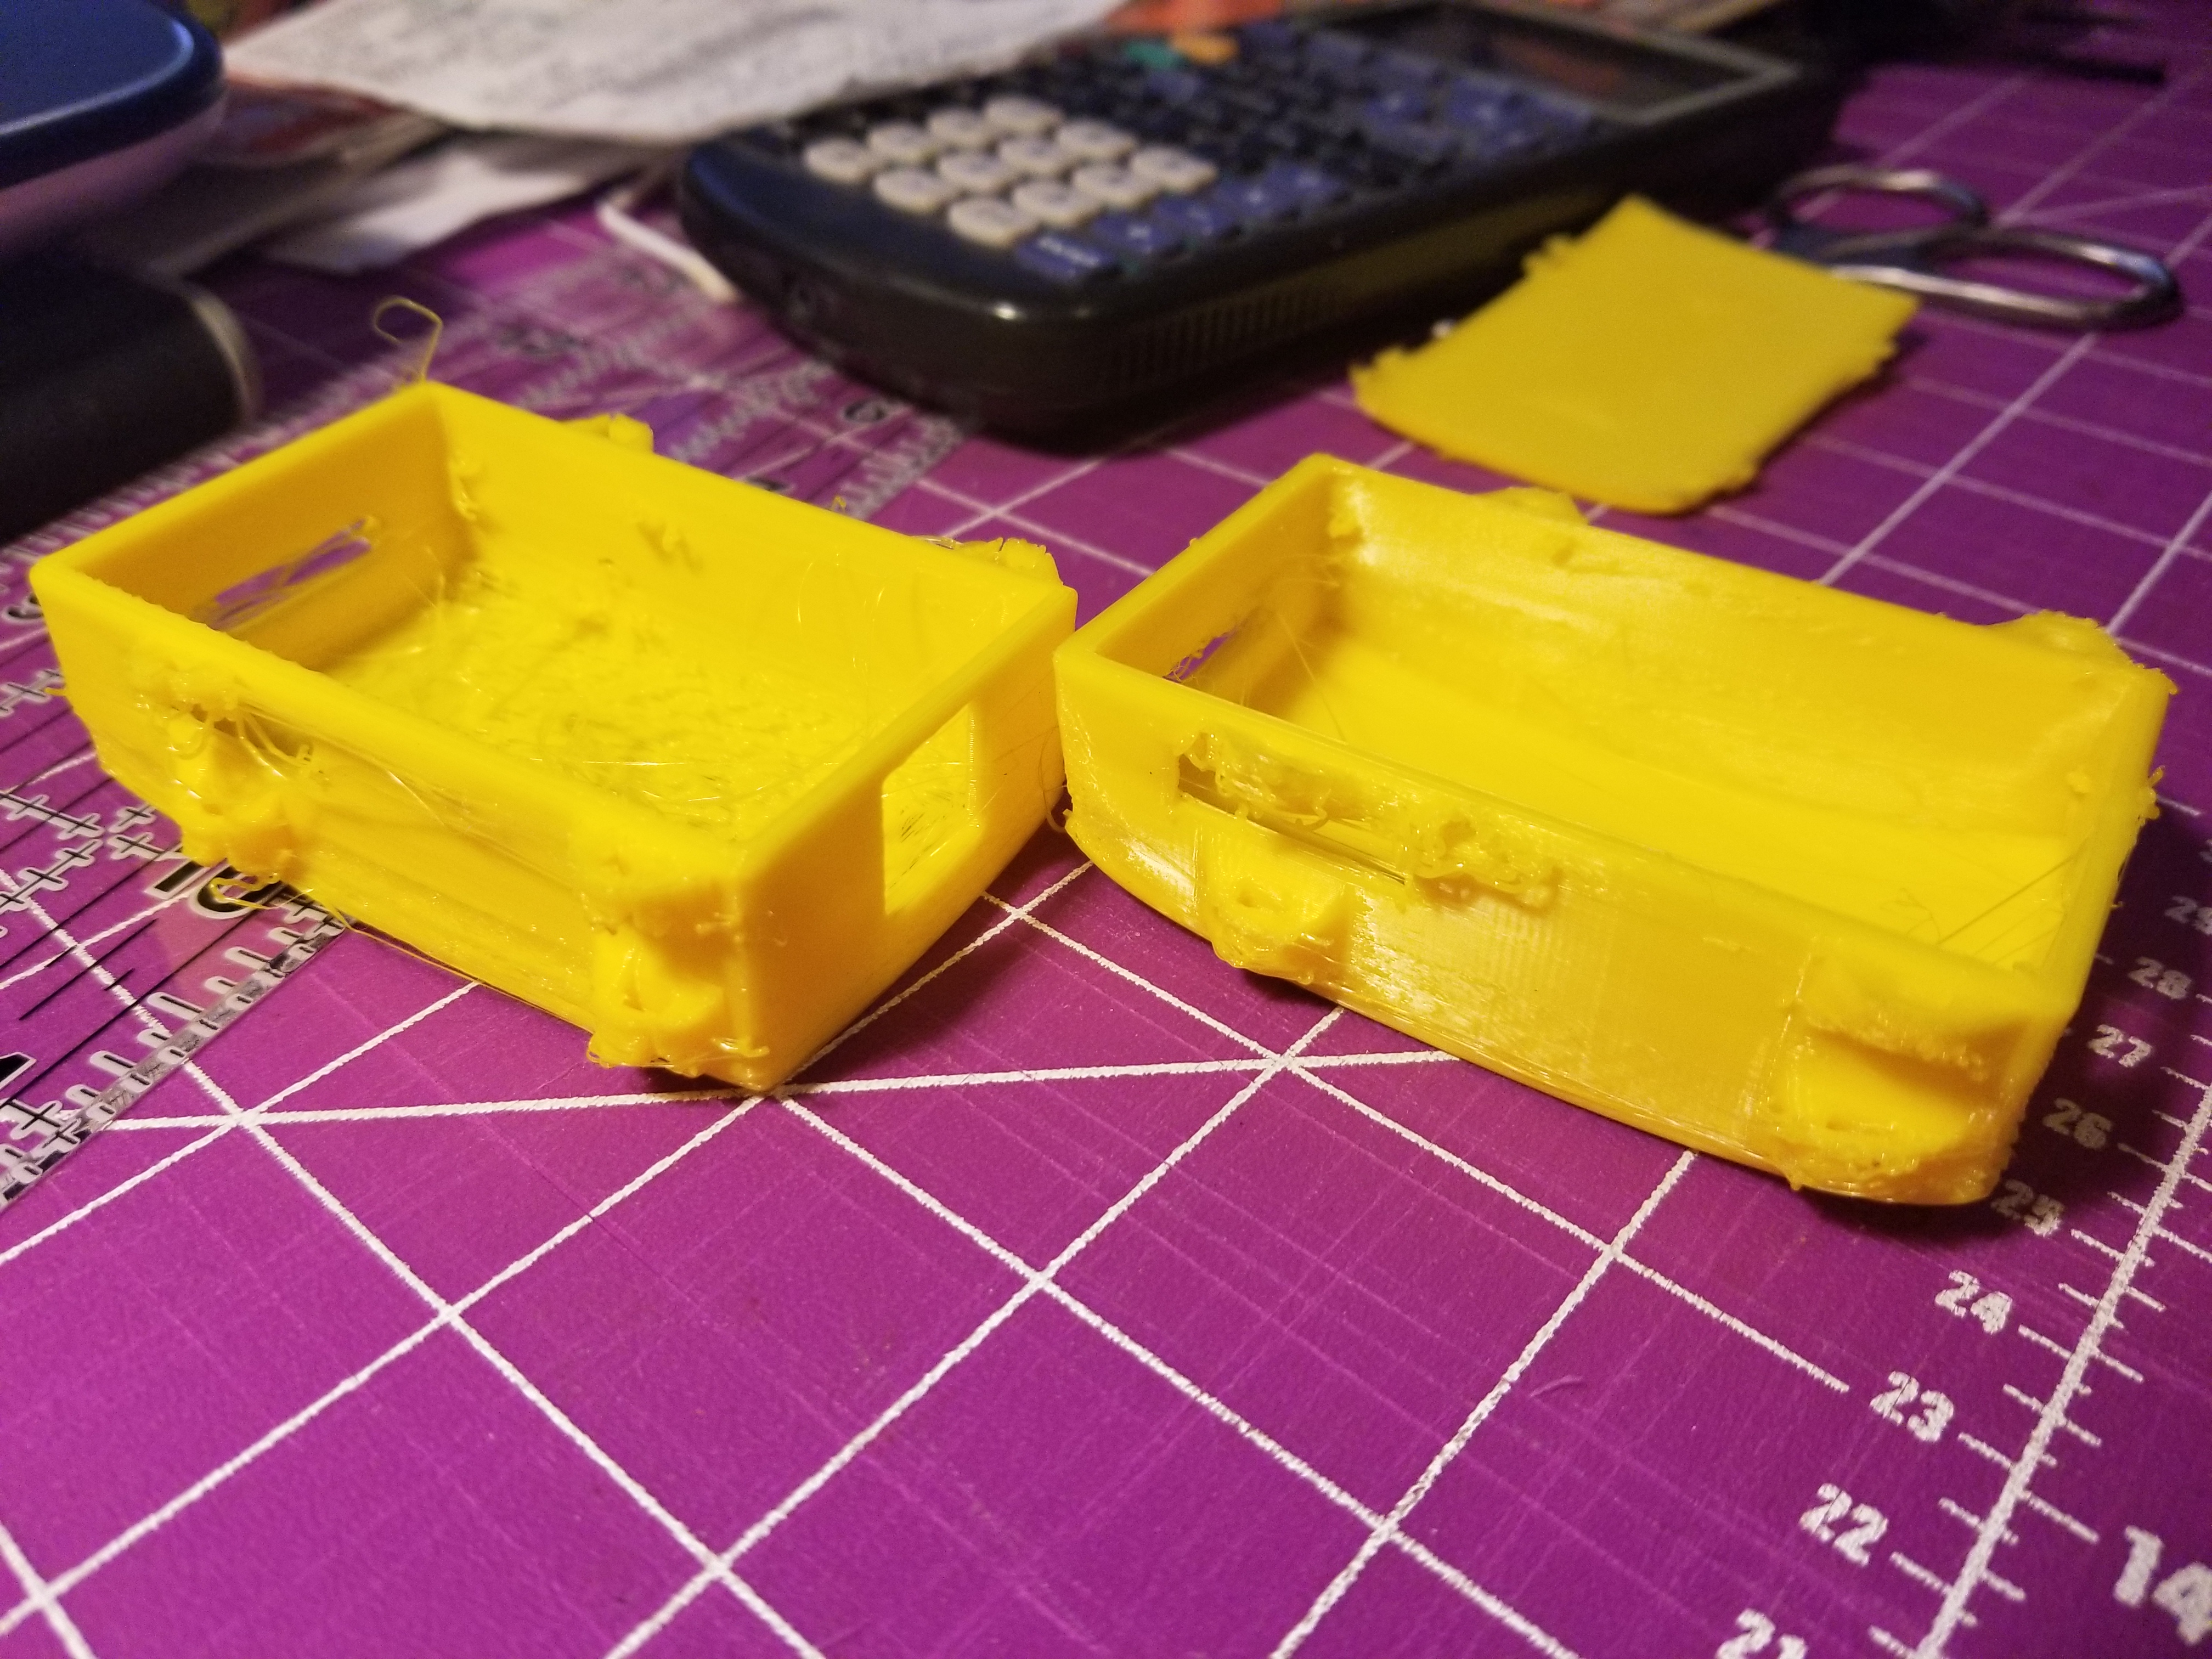
Yes it does. Bad news it the gear handle won’t last long. Needs to be metallic.
 
So here is today's try - what is causing this? Each bead is not sticking to the one next to it. They are sticking to the layers below just fine. Even the cross hatch is doing the same - not stick to the layer next to it, but stick to the layer below...

Help?

I killed this print because the corners where peeling off the build plate. Mirror, freshly cleaned, no glue or spray, 40c. I upped the temp to 48 and added some hair spray...

Other settings -
all print speeds to 20.
Travel 125
retraction 4mm
100% infill
.12 layer height
hot end temp 228f

Oh, on the printer, I set the extruder to 110%. Still need to measure it to calibrate the feed rate.
 
Getting closer for sure..? keep at it buddy you will get there..

Definitely measure the o.d of the filament in many different places..

Are the walls not mended all the way around or just the beginning of the extrusion pass?
 
Getting closer for sure..? keep at it buddy you will get there..

Definitely measure the o.d of the filament in many different places..

Are the walls not mended all the way around or just the beginning of the extrusion pass?
It is like that mostly all over. The corners where it was lifting have good adhesion to the adjoining layer, but that is probably due to the extra "squish" from the print head pushing the model back down as it passed over...

I restarted the print, upped the extruder to 120%.
 
It is like that mostly all over. The corners where it was lifting have good adhesion to the adjoining layer, but that is probably due to the extra "squish" from the print head pushing the model back down as it passed over...

I restarted the print, upped the extruder to 120%.


Ok, see what happens and let us know if the walls bond.. pay close attention to the bottom as its layer down as well... should be able to see the walls failing to bond around layer 15 if the problem is still there..
 
So for the walls not sticking together, if you are using Cura make sure all these 3 are checked.
1601406656157.png


And make sure this is set like this
1601406699802.png


You can also play with the wall line width if flow rate and those overlap adjustments don't fix it entirely.
 
Also CHEP the filament Friday guy on youtube posts his dialed in Ender 3 Cura profiles for download. Sometimes when I have issues with a certain filament I load one of his profiles that's a match for it and compare settings or just try his profile straight up.

https://www.chepclub.com/cura-profiles.html

He does a lot of fine tuning type stuff and lots of it is with the ender 3, Cura, and he has some vids on getting good results with Ninjaflex, so incase you haven't checked out his channel here's the link.
https://www.youtube.com/user/beginnerelectronics
 
I had the first and last checked, but not "Compensate Outerwall Overlaps"
This is where I first learned about that setting and it helped once all were checked, skip to 2:58.
 
Printed a wing riser yesterday in TPU for putting a wing on my Granite since the body posts are too tall (waiting on the lower body posts, in the mail). I used the same settings for TPU that I do for PETG except for temp is 220C.
Printed at 40mm/s inner walls and infill, 20mm/s outer wall, accel is 800mm/s^2, 3 top and bottom layers, 1 surface skin layer, 30% infill, 4 walls, 0.6 mm nozzle, 0.26 mm layer height
This part is tough enough to take some falls and tumbles, but flexible enough to absorb the force, and not at all floppy.
 
I print 25mm/s. Bondtech bowden. All-metal e3dv6. Sometimes on my machine even 25mm/s is too fast on some sections. I have my tpu flowrate set to 1.05 to always keep pressure in the nozzle. Avoid crossing perimeters, no retracts, and 0.2 layer height. With my z-offset properly adjusted I always have issues getting my tpu prints off the bed. It sticks too well with no brim.
 
Have you done any extrusion line width measurements?
Have you replaced the extruder motor gear?
Have you measured extrusion steps/mm?

The walls should join if the extrusion is all good.

Thinking more about it, there will be more squish with a gear that has larger distances between teeth like a spur gear vs something like the hobbed gears with smaller distances and a supporting curvature. This would cause more under-extrusion as the filament is following a path inside the normal filament radius. All the more reason to do tests to pin point your extrusion multiplier, or see if you are actually under extruding all your parts with incorrect steps/mm in your machine firmware.
 
Last edited:
So the second one is done, in some ways it is better, but it is still crap... LOL I think tomorrow I will open the Overture TPU tomorrow and see how it prints.

Throw the .stl in a zip file and upload to this thread, then we can all have a Ninjaflex printing contest... LOL
 
Cracked open the Overture this morning. This stuff is a LOT stiffer than the Ninjaflex - as y'all predicted. I also made a few more tweeks to the Cura settings.

Oh, and I checked the extruder - told it to move 100mm, got 86mm of filament out the back side. So there is that. I did set this version of gode Flow to 130 (I hope that is the right setting... :) )

So the new file is printing, we'll see. May be too many changes at once.
To adjust your esteps, I would use pronterface to check and adjust your code. You can check the Marlin manual for the exact M codes to use. You can also calculate your esteps using the following math

100mm x (current esteps value)
—————————————— (divided by)
(Actual extruded amount) 86mm

This will be your new esteps value. Don’t forget to save the parameters after changing them.
 

There are some things you can do to the model that will make the prints more successful, especially for printing with TPU.
TPU likes to curl upwards on corners that overhang, which is evident in your images. You can change the fillet/rounded bottom edge with a chamfer of no more acute of an angle than 45 deg. Same goes for the sharp overhangs on what looks like cable tie mounts. I also see gaps between the mounts and the main body of the part on one side, which might explain why the machine paths are making it jump from one of the mounts to the other, evident in the stringing. You can also add a brim if you are still worried about making sure the corners are sticking down all the way.

Did a few quick edits https://www.tinkercad.com/things/1GT1y0eheN4

I suggest learning Fusion360 if you are wanting to do more with rounded edges and make for dimensionally accurate parts. It is not too difficult to learn and there are loads of tutorials. I personally prefer Solidworks, but they don't offer a free license to hobbyists like AutoDesk does with Fusion360.
 
Last edited:
Cracked open the Overture this morning. This stuff is a LOT stiffer than the Ninjaflex - as y'all predicted. I also made a few more tweeks to the Cura settings.

Oh, and I checked the extruder - told it to move 100mm, got 86mm of filament out the back side. So there is that. I did set this version of gode Flow to 130 (I hope that is the right setting... :) )

So the new file is printing, we'll see. May be too many changes at once.
NinjaTech Cheetah is closer to that TPU
 
Old Thread: Hello . There have been no replies in this thread for 90 days.
Content in this thread may no longer be relevant.
Perhaps it would be better to start a new thread instead.
Back
Top