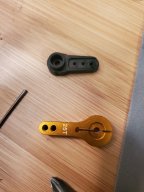
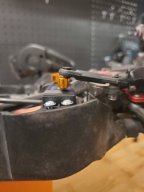
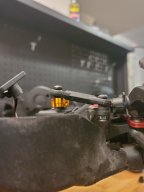
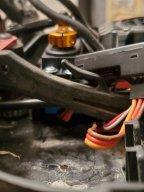
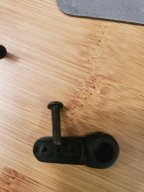
I am replacing my steering servo. I have the new one in, centered and also have the spacers in. My dumb question is this, given what was in the box, I'm confused as to what screw I'm to use attaching it to the servo arm. Do you need to open the whole up on the servo arm in order to allow the black screw to go in?
Sorry for the confusion
Sorry for the confusion
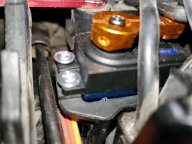
") Don't use plastic. They come with new servos and I never use them!! Use alloy only. The Stock alu. arm is 25 spline.( again 6S rigs) Hopefully your new servo is also 25 spline.. Or you have another problem there for sure.
Don't use plastic. They come with new servos and I never use them!! Use alloy only. The Stock alu. arm is 25 spline.( again 6S rigs) Hopefully your new servo is also 25 spline.. Or you have another problem there for sure.