RJUK
Active Member
- Messages
- 214
- Reaction score
- 141
- Thread starter
- #41
No, if it can damage to other parts then I'll swap out as many as I can.
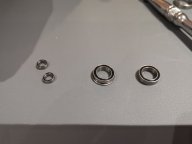
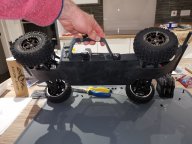
Time to find some fluid by the sounds of it. Do I need any special tools for doing the ones in the diff or slipper?
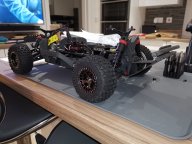
I guess I may have to watch the video again. I can't remember which ones he showed and which he didn't.
Time to find some fluid by the sounds of it. Do I need any special tools for doing the ones in the diff or slipper?
I guess I may have to watch the video again. I can't remember which ones he showed and which he didn't.
Last edited: