- Messages
- 298
- Reaction score
- 581
- Arrma RC's
- Mojave EXB
Hey everyone, I guess I'll start my first "build" thread. Been part of the forum for a few months at this point and have learned a bunch from all of the wonderful members here (and have hopefully passed on some good knowledge as well).
I recently picked up a NIB Mojave EXB roller from fellow forum member @JuanOrez (great seller to work with, FYI). As far as previous RC rigs go, I've had a Vortex 3s, TRX-4M, 2wd Slash (racing), XRAY XB2 (racing), and an Infraction v2. I really enjoyed the size and power of the Infraction, but felt fairly limited by its low ride height. The Mojave seemed like a step in the right direction - I don't want to or need to go full send, don't need to do flips, etc. Just want to drive fast over rough terrain, and look good while doing it
So, with that said, I sold the Infraction as a roller and kept the Motor/ESC/radio. I'm planning on keeping this build pretty simple and low frills (Keep It Simple Stupid!). I know there are nicer motor/ESC combos than the stock Spektrum 150a stuff, and there are tons of mechanical/durability/bling factor upgrades I could make. But I want to keep this as low budget and reliable as possible for now, and will upgrade parts as needed. Although, from what I've read about the Mojave (and especially the EXB), it's a pretty stout rig to begin with, so hopefully there won't be too many breakages in the near future.
Purchased so far:
I admit the extra green body was a bit superfluous. But the black EXB body is SO PRETTY, and I really don't want to get it all scratched/ripped up while bashing. Plus this will be my first time attempting to reinforce a body, so I figured might as well pick up the green body that I can not feel too bad about wrecking, and then keep the EXB body for photoshoots and shelf display. But who am I kidding, I'll probably end up driving the black body anyway.
Work done so far:
Body reinforcement plan:

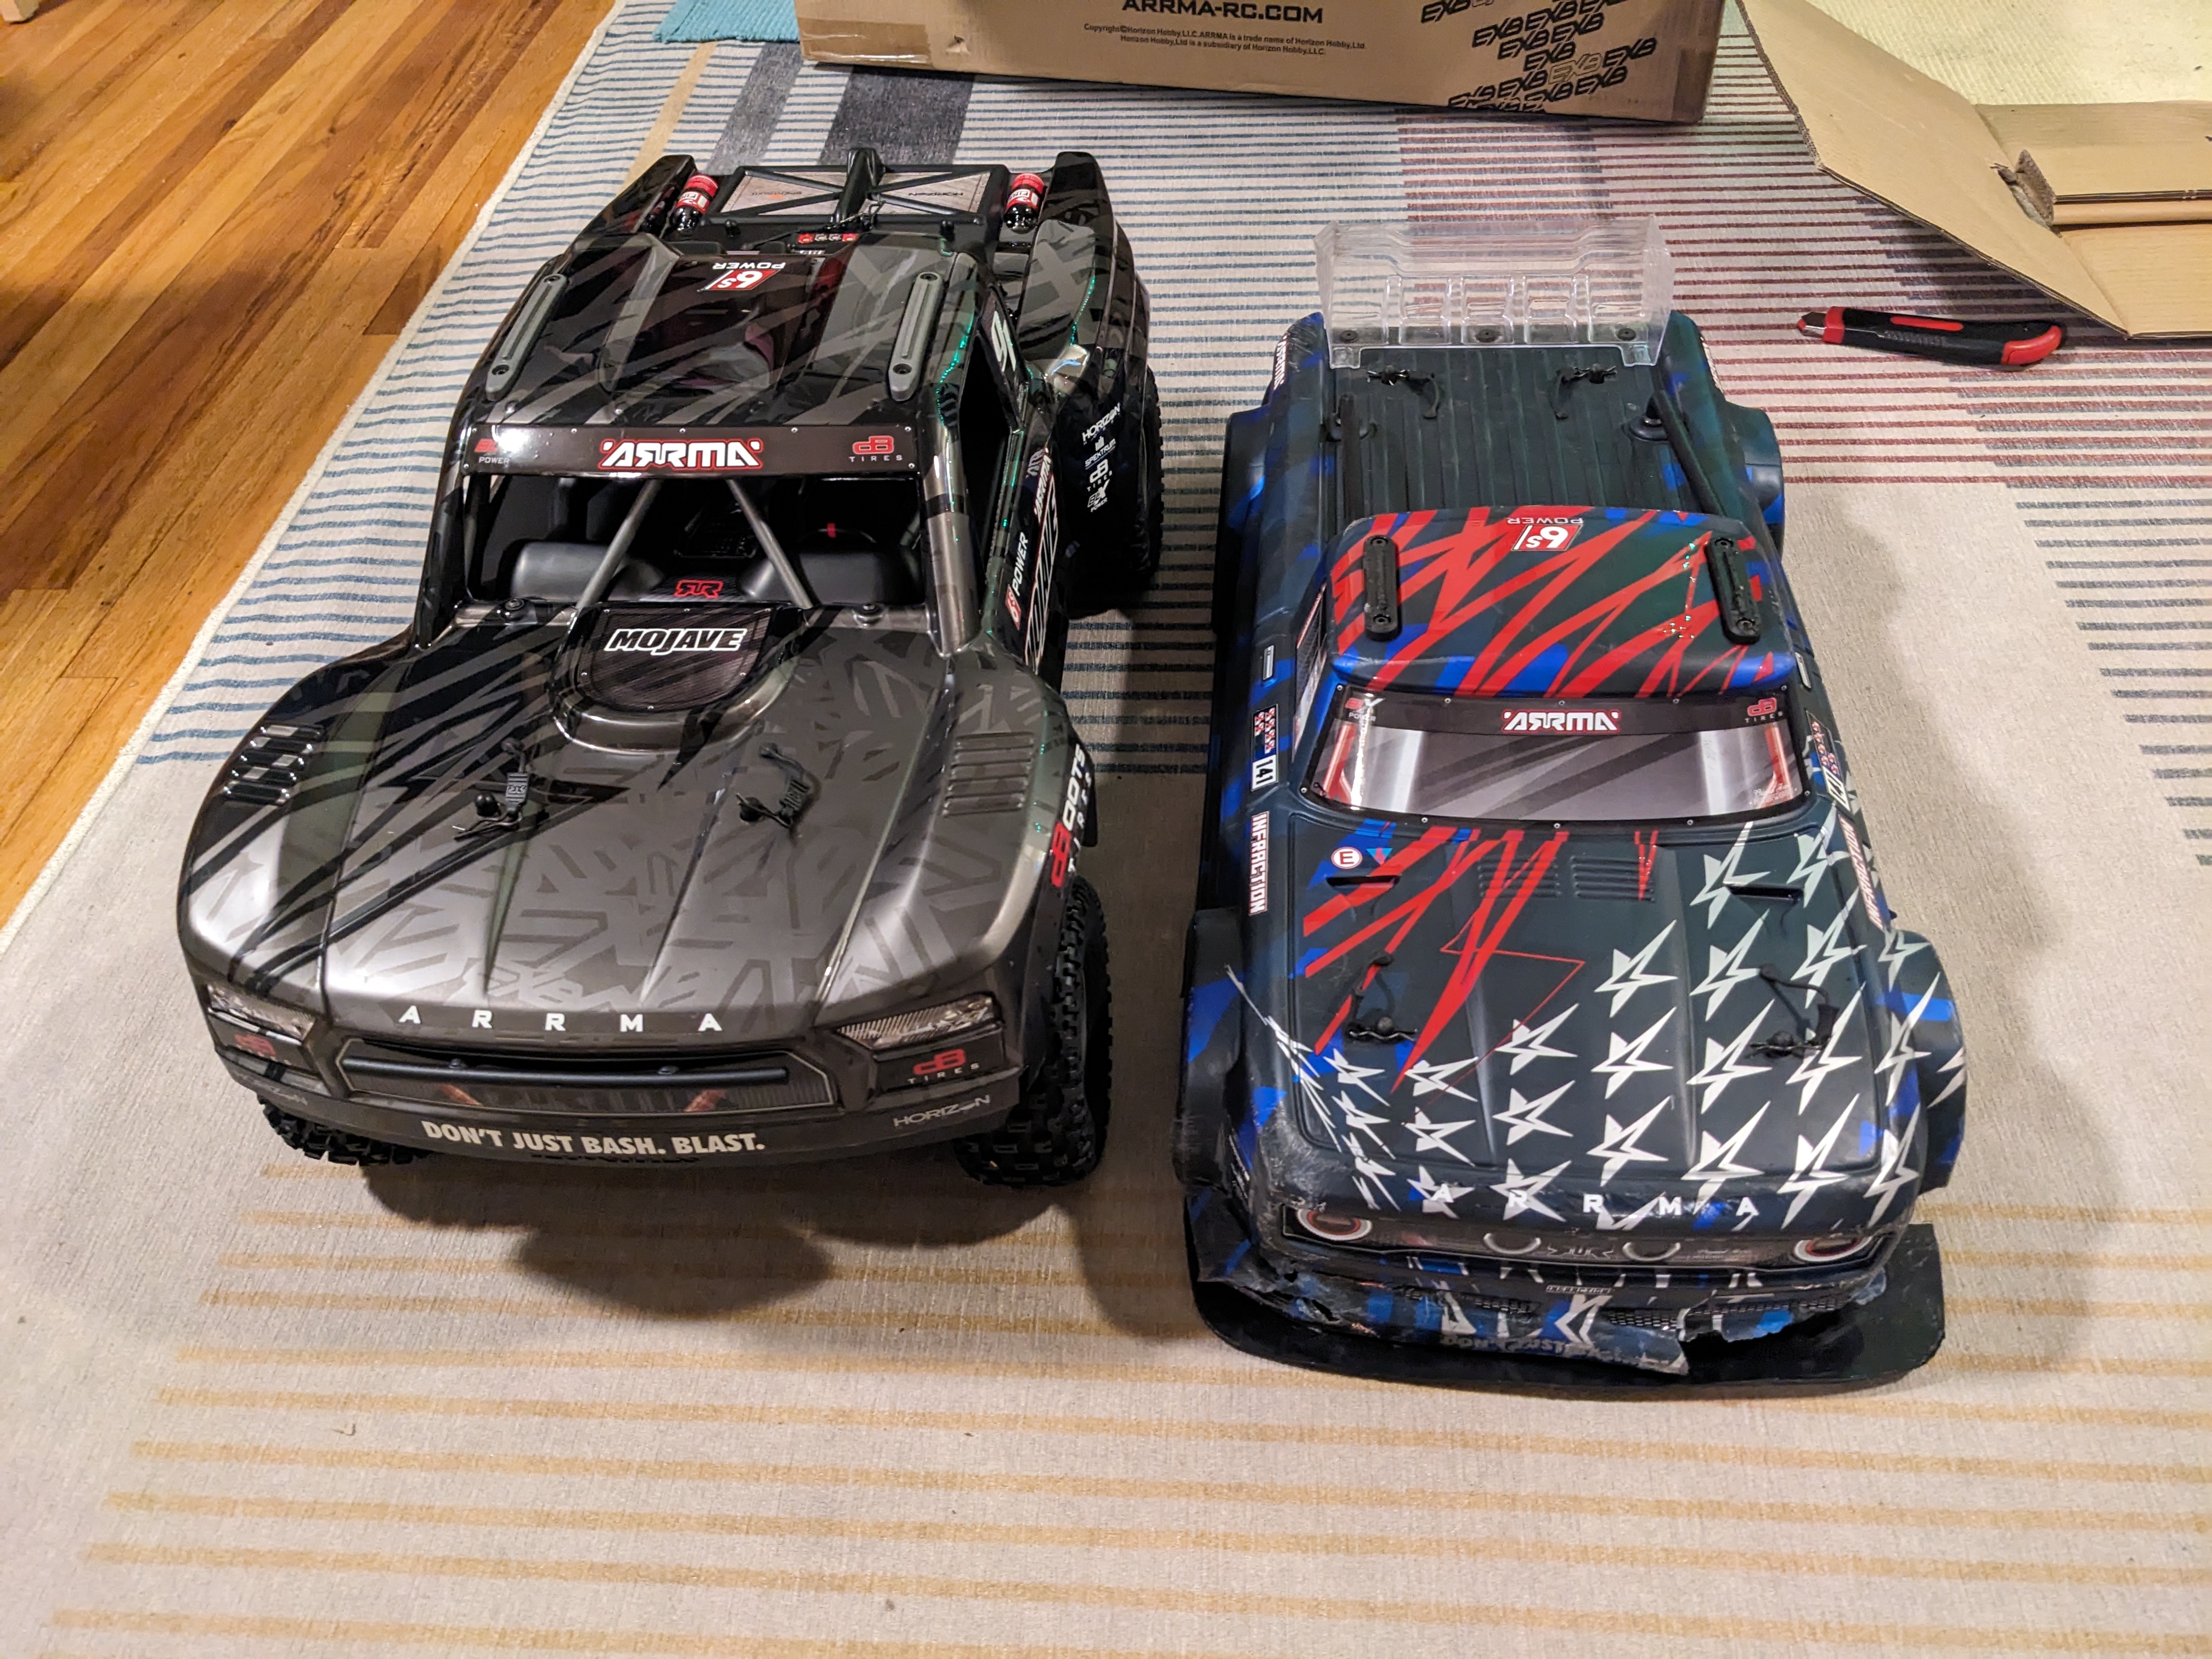
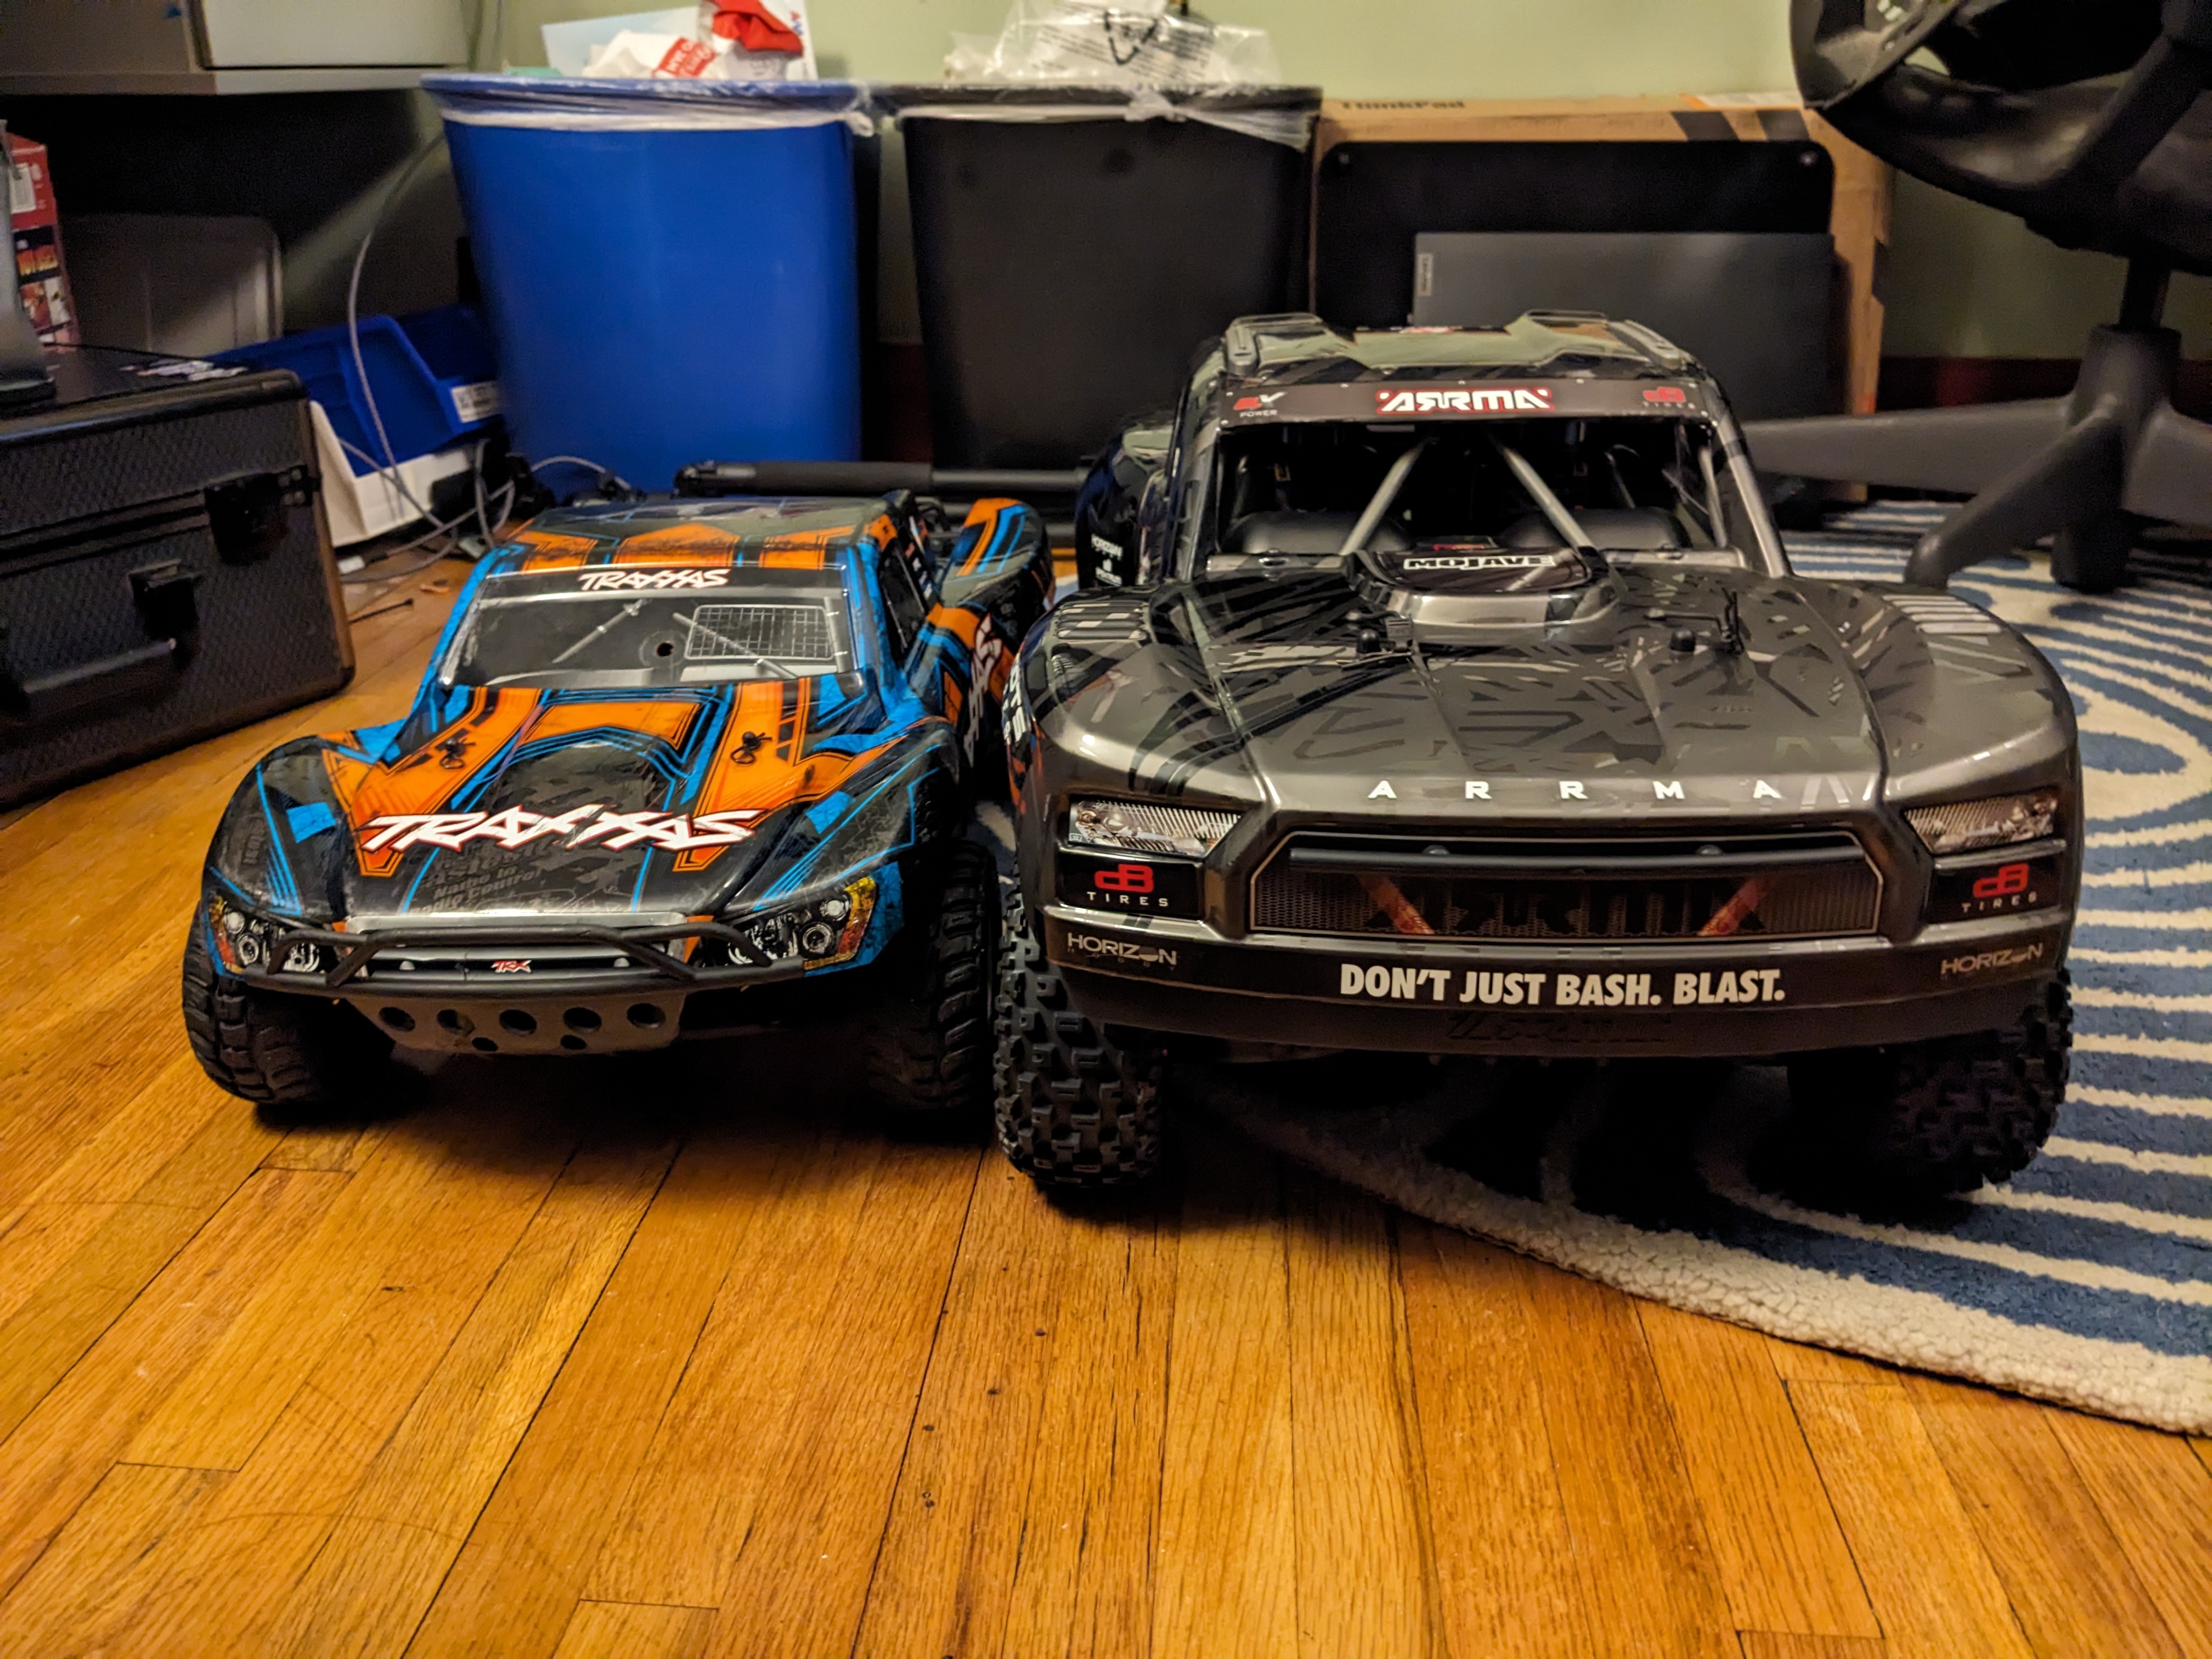
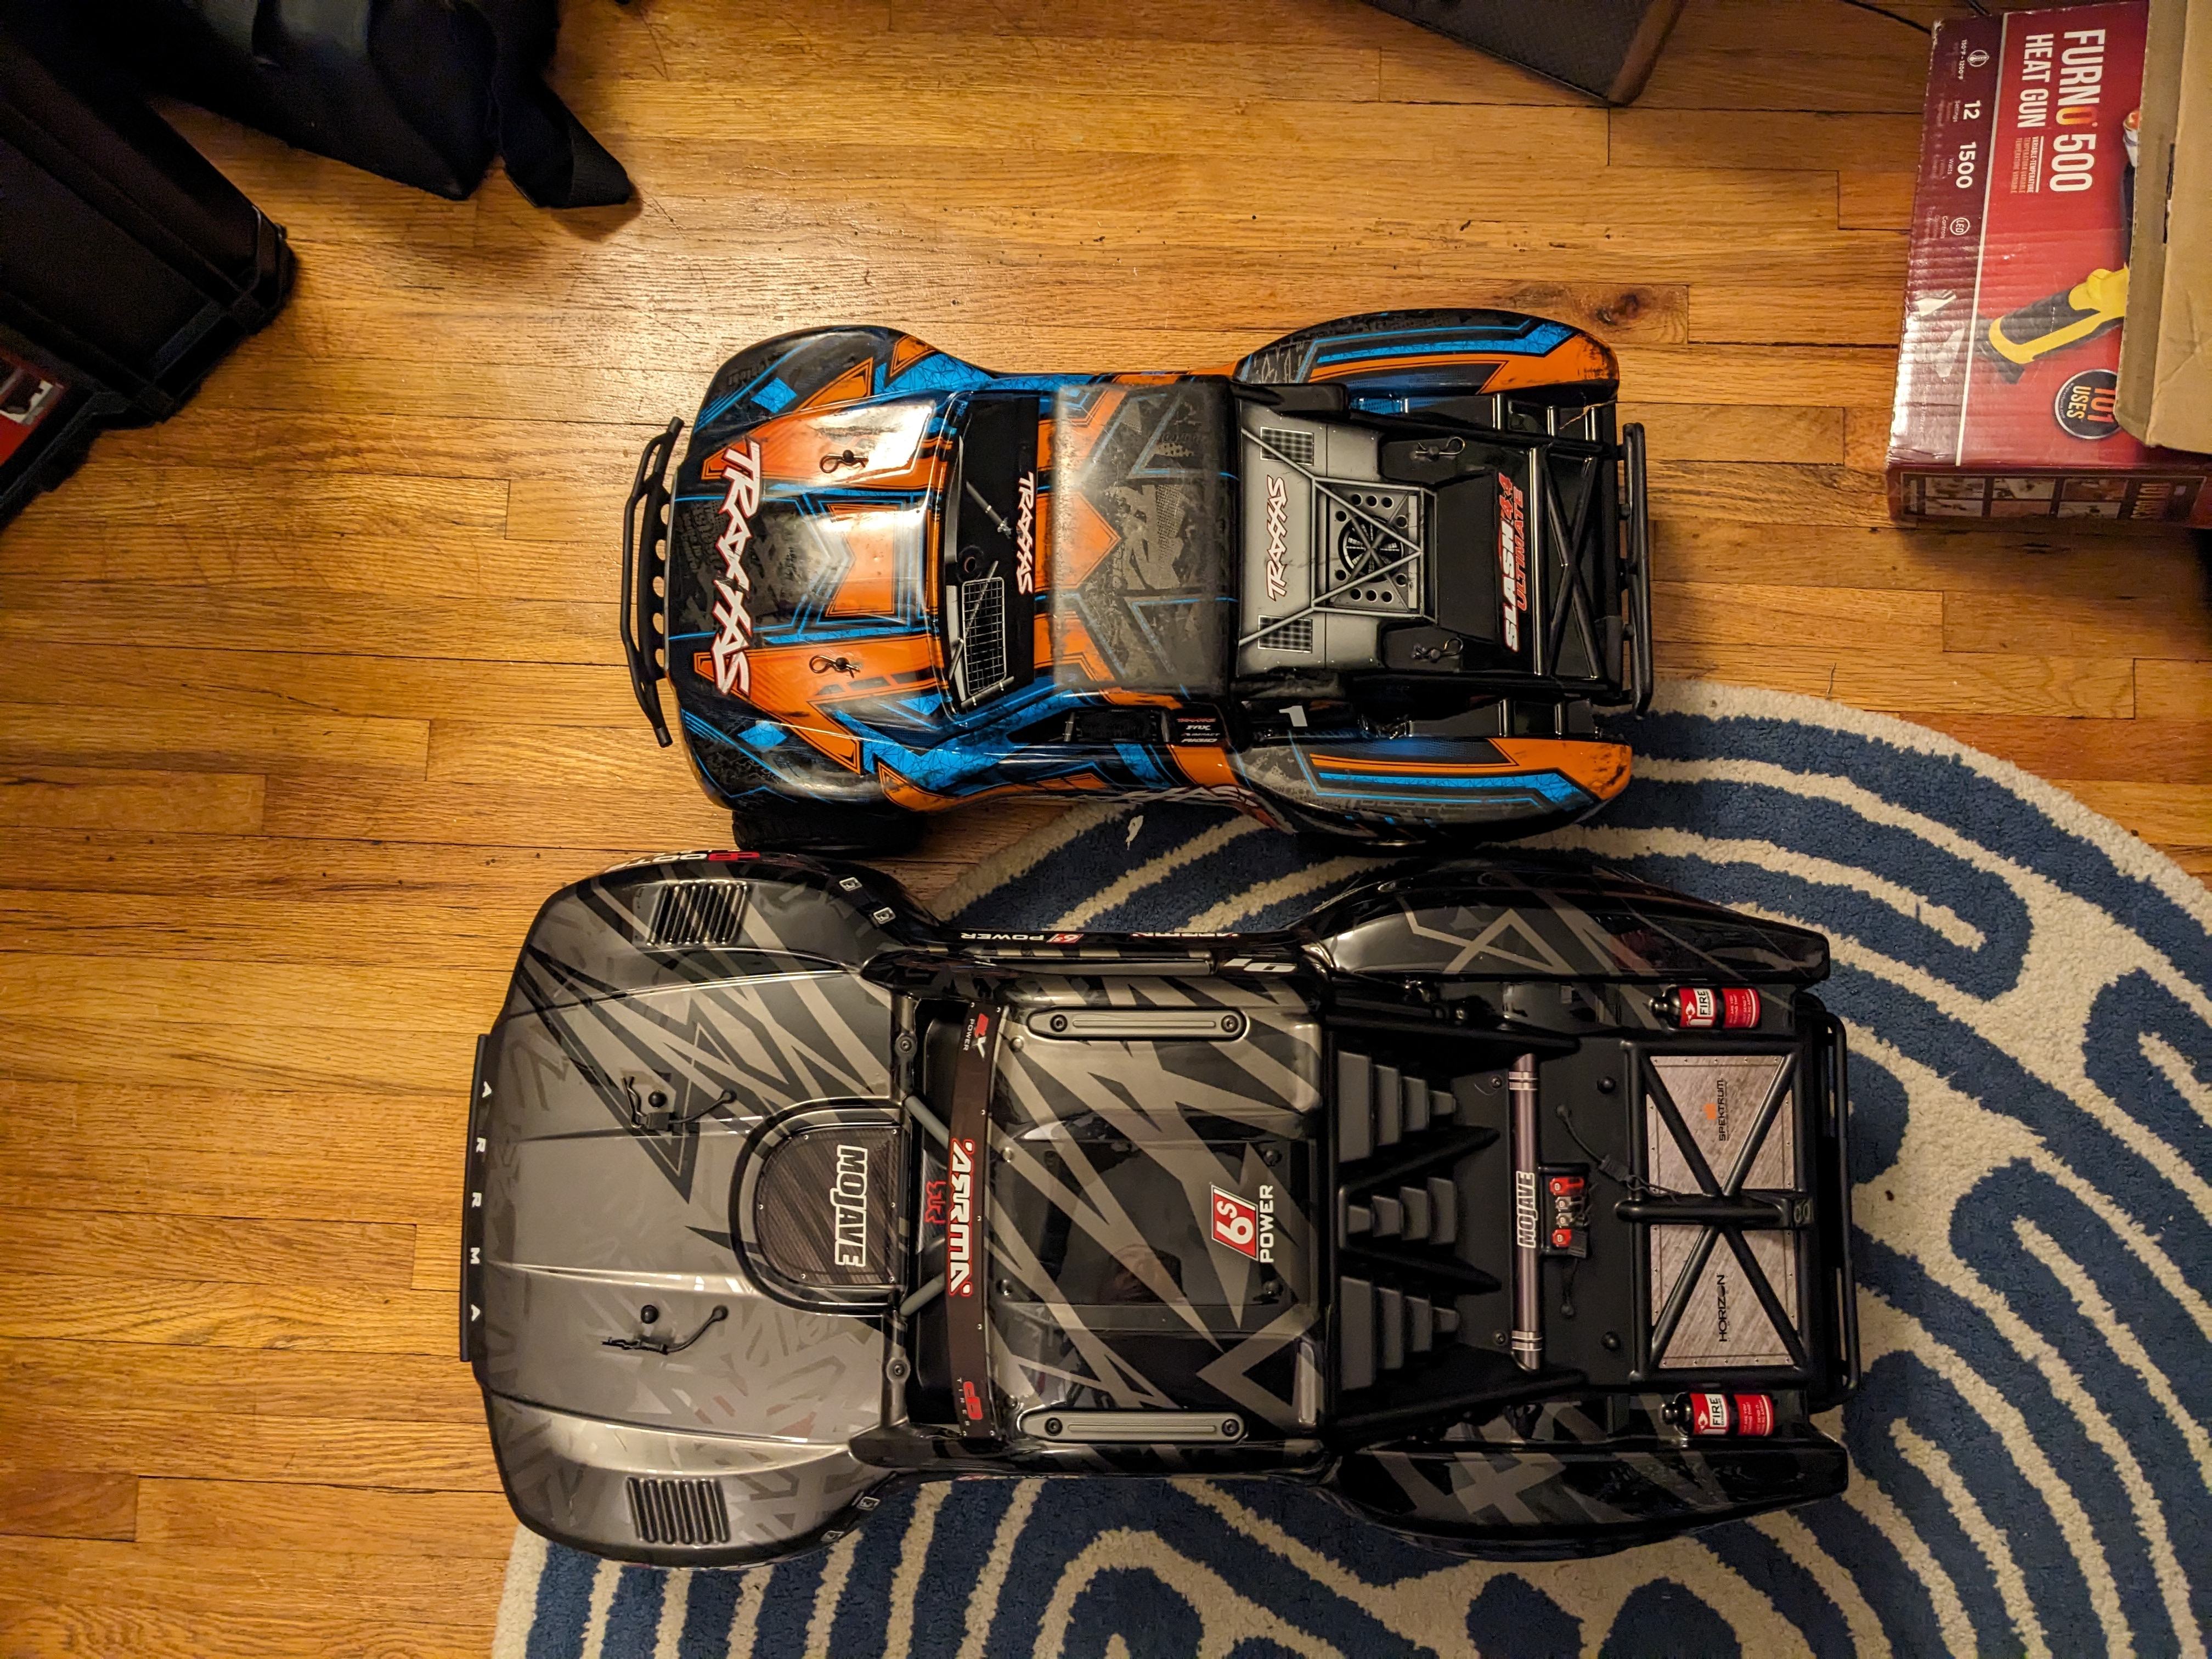
Size comparisons:
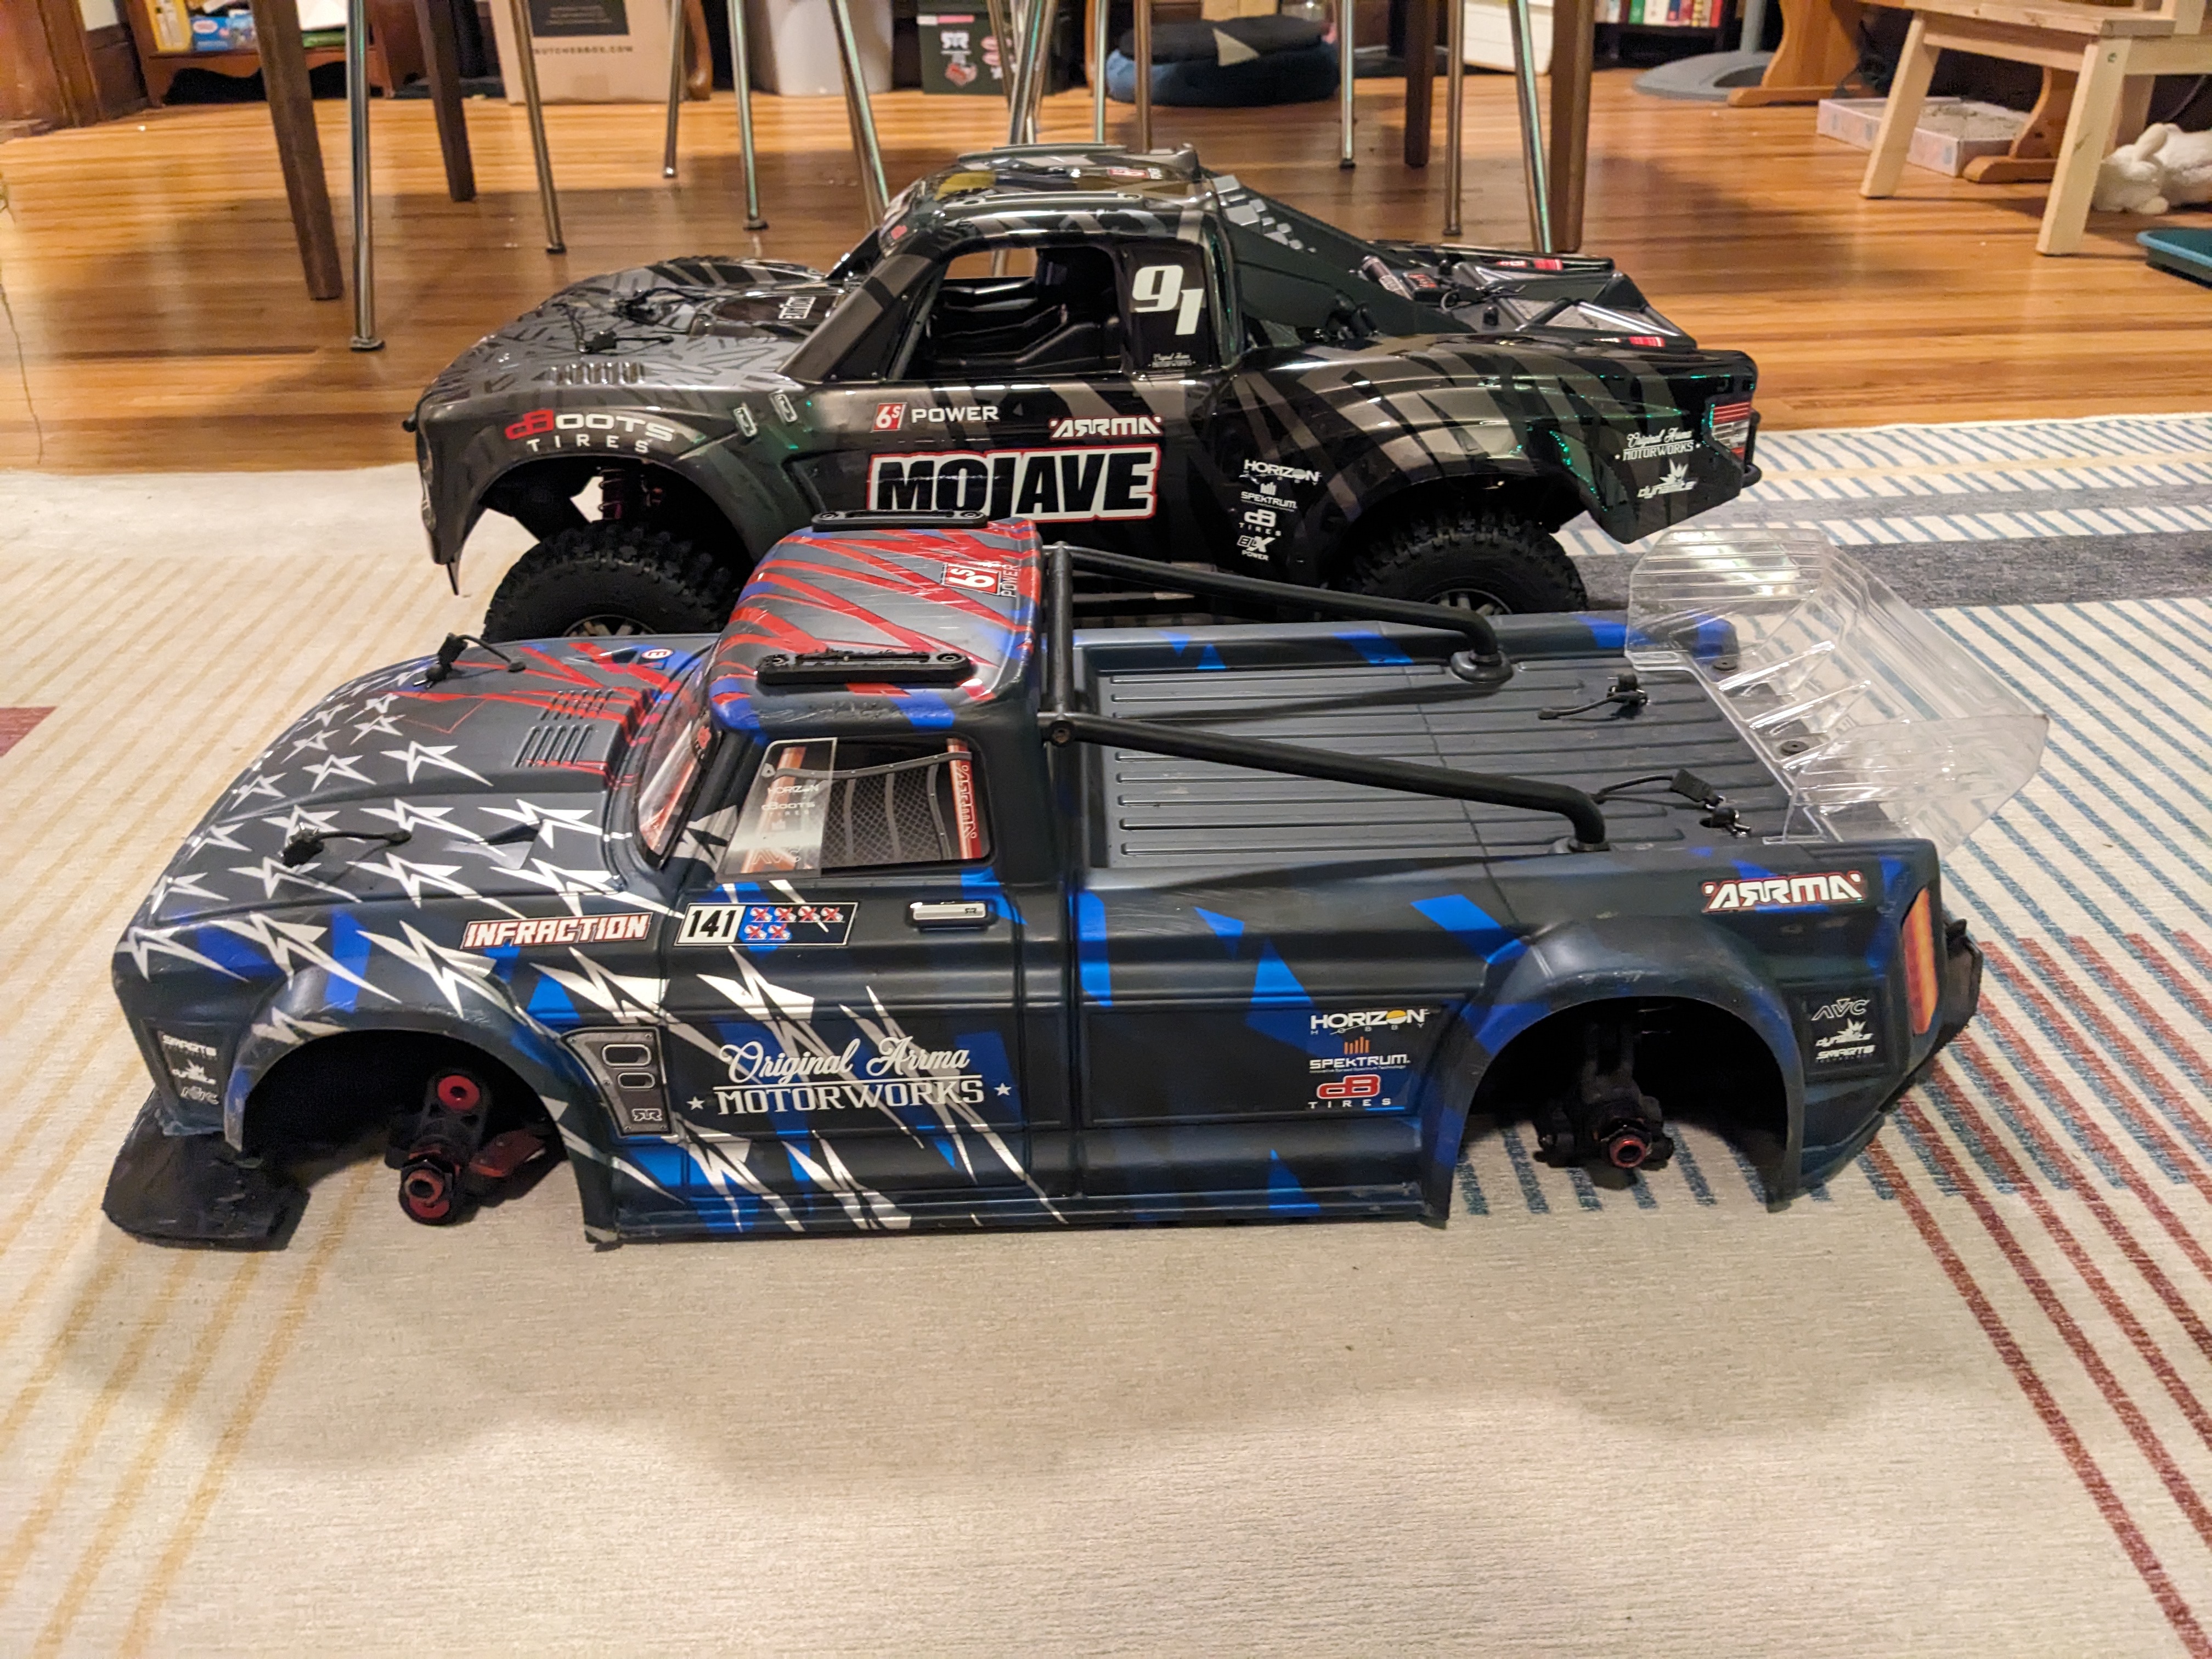
Just for fun, I took some photos of the Mojave next to the Infraction V2 (albeit without its wheels) and my 2wd Slash. The Mojave is HUGE!
I recently picked up a NIB Mojave EXB roller from fellow forum member @JuanOrez (great seller to work with, FYI). As far as previous RC rigs go, I've had a Vortex 3s, TRX-4M, 2wd Slash (racing), XRAY XB2 (racing), and an Infraction v2. I really enjoyed the size and power of the Infraction, but felt fairly limited by its low ride height. The Mojave seemed like a step in the right direction - I don't want to or need to go full send, don't need to do flips, etc. Just want to drive fast over rough terrain, and look good while doing it
So, with that said, I sold the Infraction as a roller and kept the Motor/ESC/radio. I'm planning on keeping this build pretty simple and low frills (Keep It Simple Stupid!). I know there are nicer motor/ESC combos than the stock Spektrum 150a stuff, and there are tons of mechanical/durability/bling factor upgrades I could make. But I want to keep this as low budget and reliable as possible for now, and will upgrade parts as needed. Although, from what I've read about the Mojave (and especially the EXB), it's a pretty stout rig to begin with, so hopefully there won't be too many breakages in the near future.
Purchased so far:
- Mojave EXB roller
- Scorched RC fenders
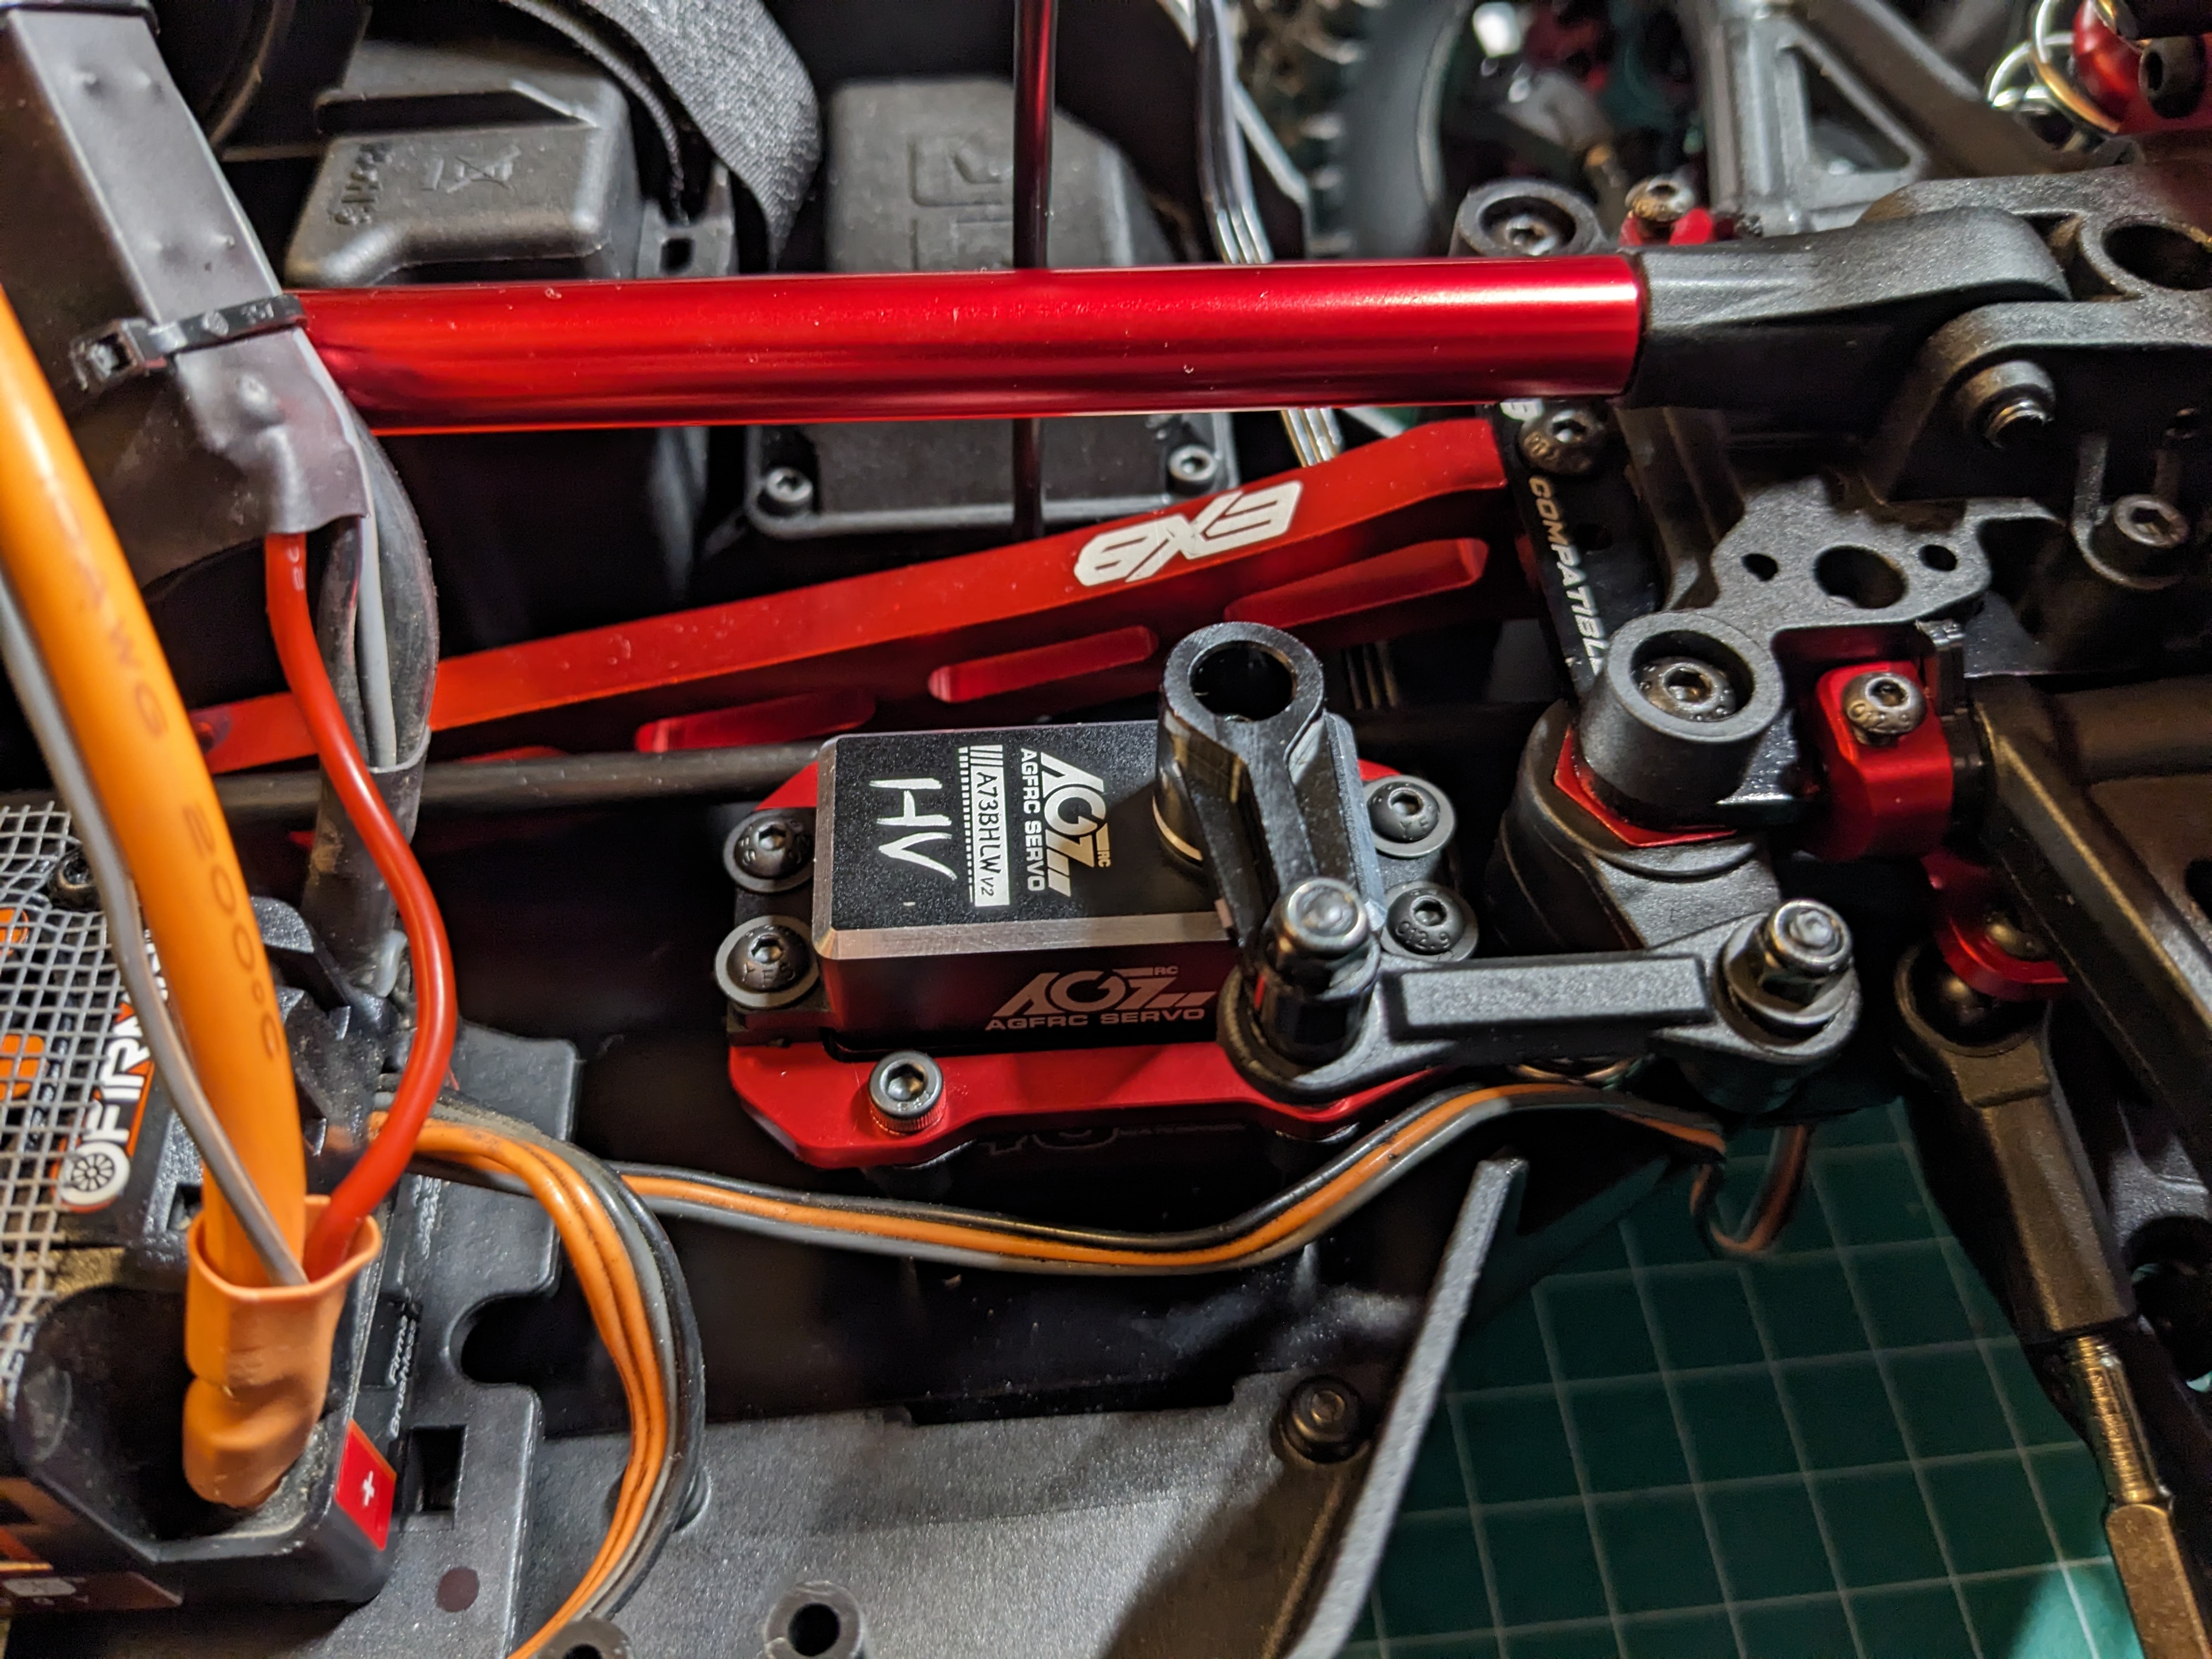
- AGFRC 40 kg waterproof servo
- Flysky GT5 TX/RX
- Spare green Mojave body from Ebay
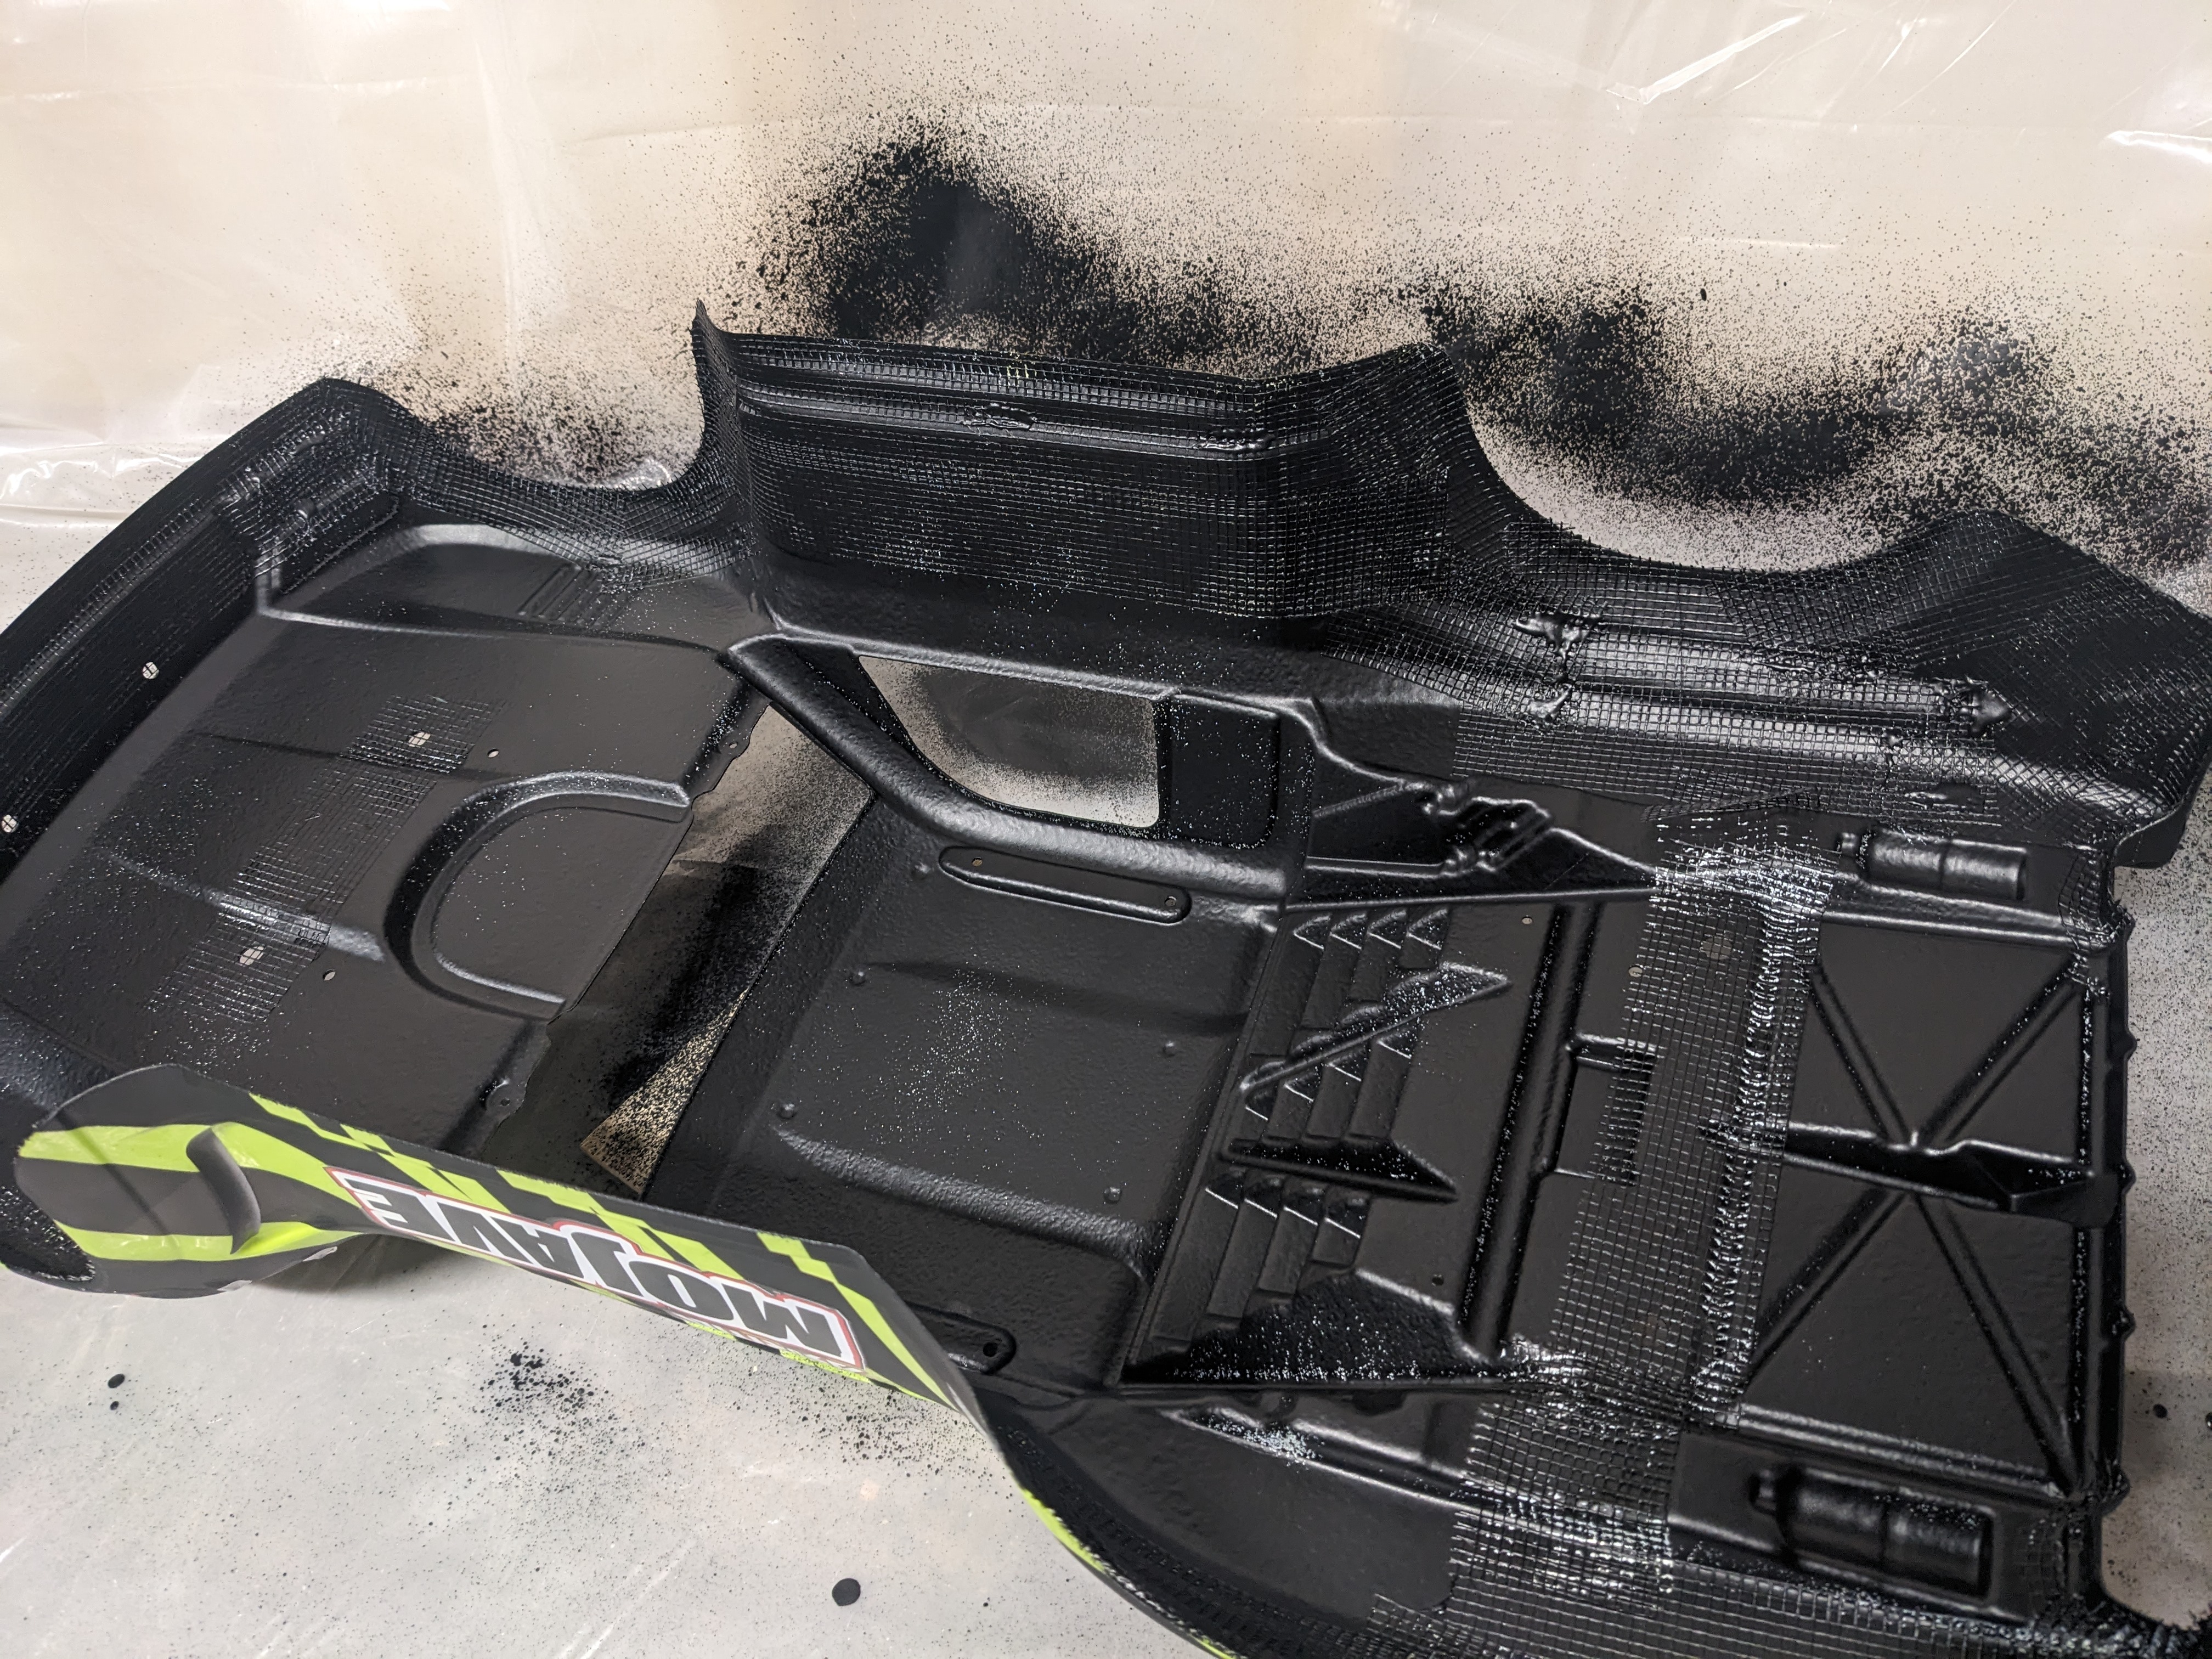
- Can of black Flex Seal to do some light body reinforcement
I admit the extra green body was a bit superfluous. But the black EXB body is SO PRETTY, and I really don't want to get it all scratched/ripped up while bashing. Plus this will be my first time attempting to reinforce a body, so I figured might as well pick up the green body that I can not feel too bad about wrecking, and then keep the EXB body for photoshoots and shelf display. But who am I kidding, I'll probably end up driving the black body anyway.
Work done so far:
- Inspect all 3 diffs (oil fill looked a teeny tiny bit lower than specified by the manual, but honestly not by that much). And I bet if all the oil that clings to the top cover was allowed to drip down into the diff housing, the fill level would have been perfect.
- Check diff meshing. Everything felt OK and I didn't add any shims, but I will check again after running a handful of times. Quick note on removing the front/rear diff covers - the included manual doesn't mention this, but I absolutely had to remove the plastic hinge pin retainer cover before I could get the diff cover off.
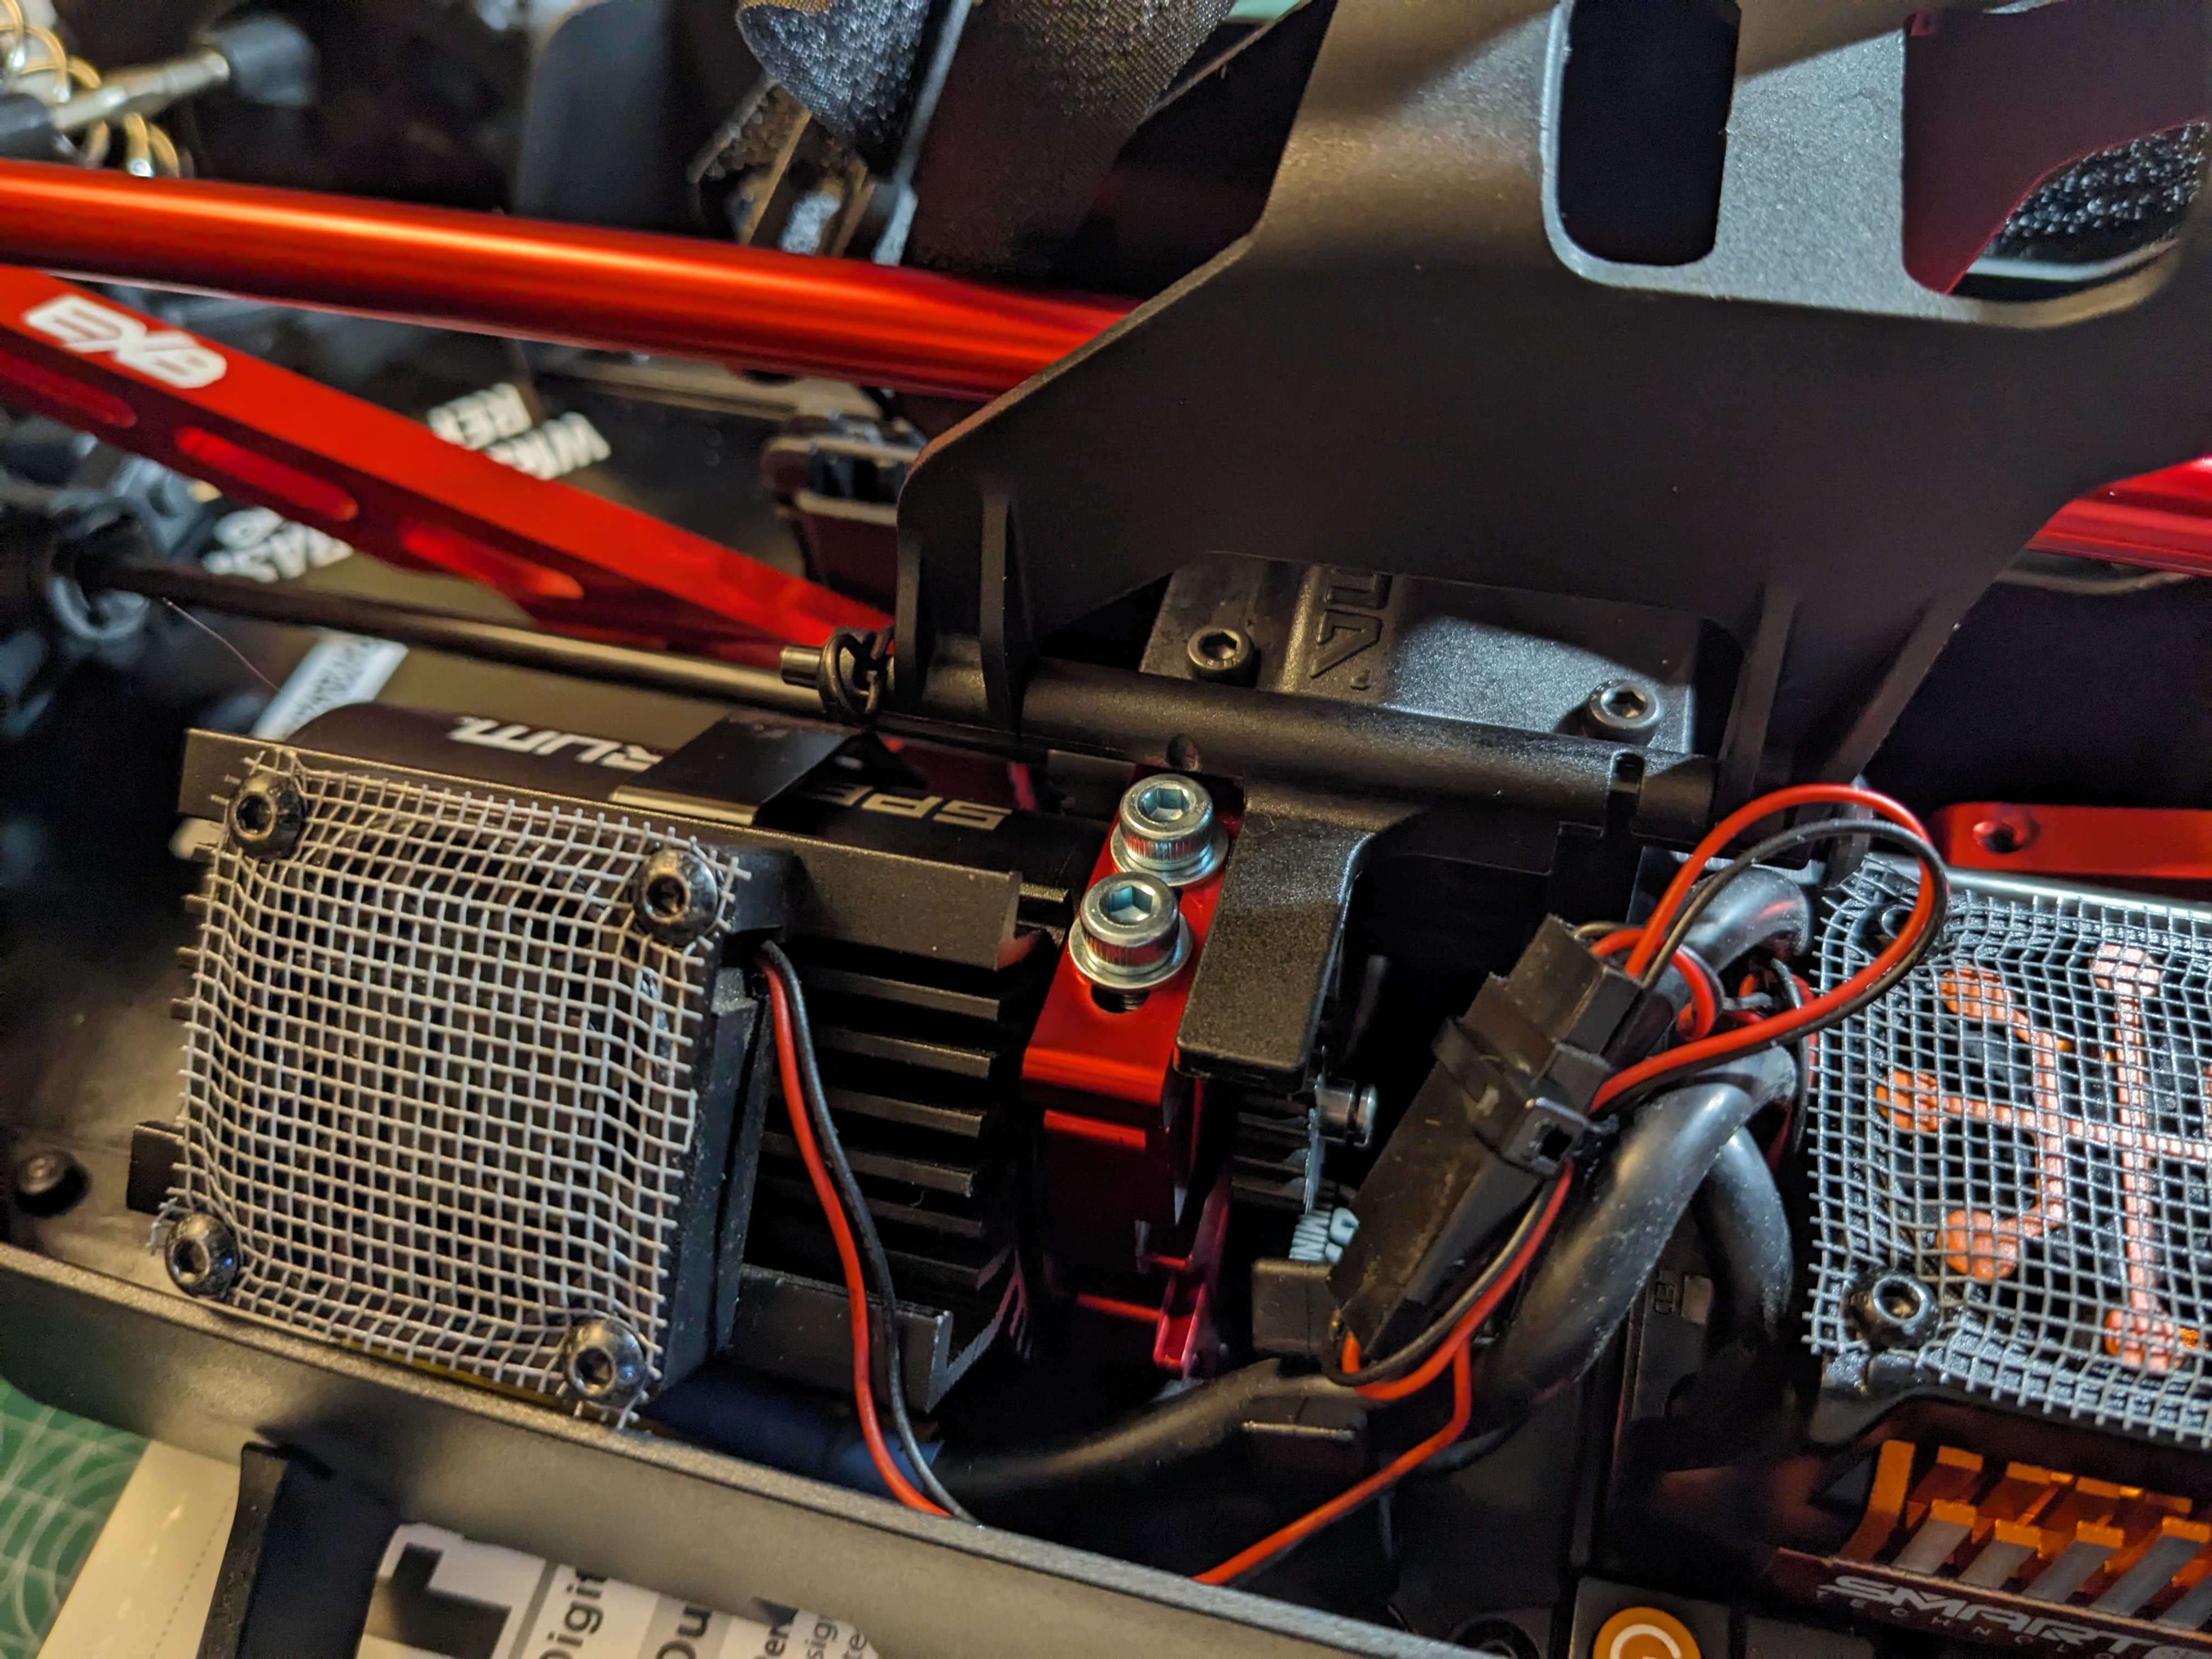
- Install Spektrum 150A motor/ESC combo from Infraction V2 using included 16T pinion. The heat sink orientation had to be flipped on the motor so the heatsink and fan could clear the side guard and center chassis brace, and also so the heat sink clip was oriented at 90 deg instead of straight down, which would cause the clip to interfere with the chassis.
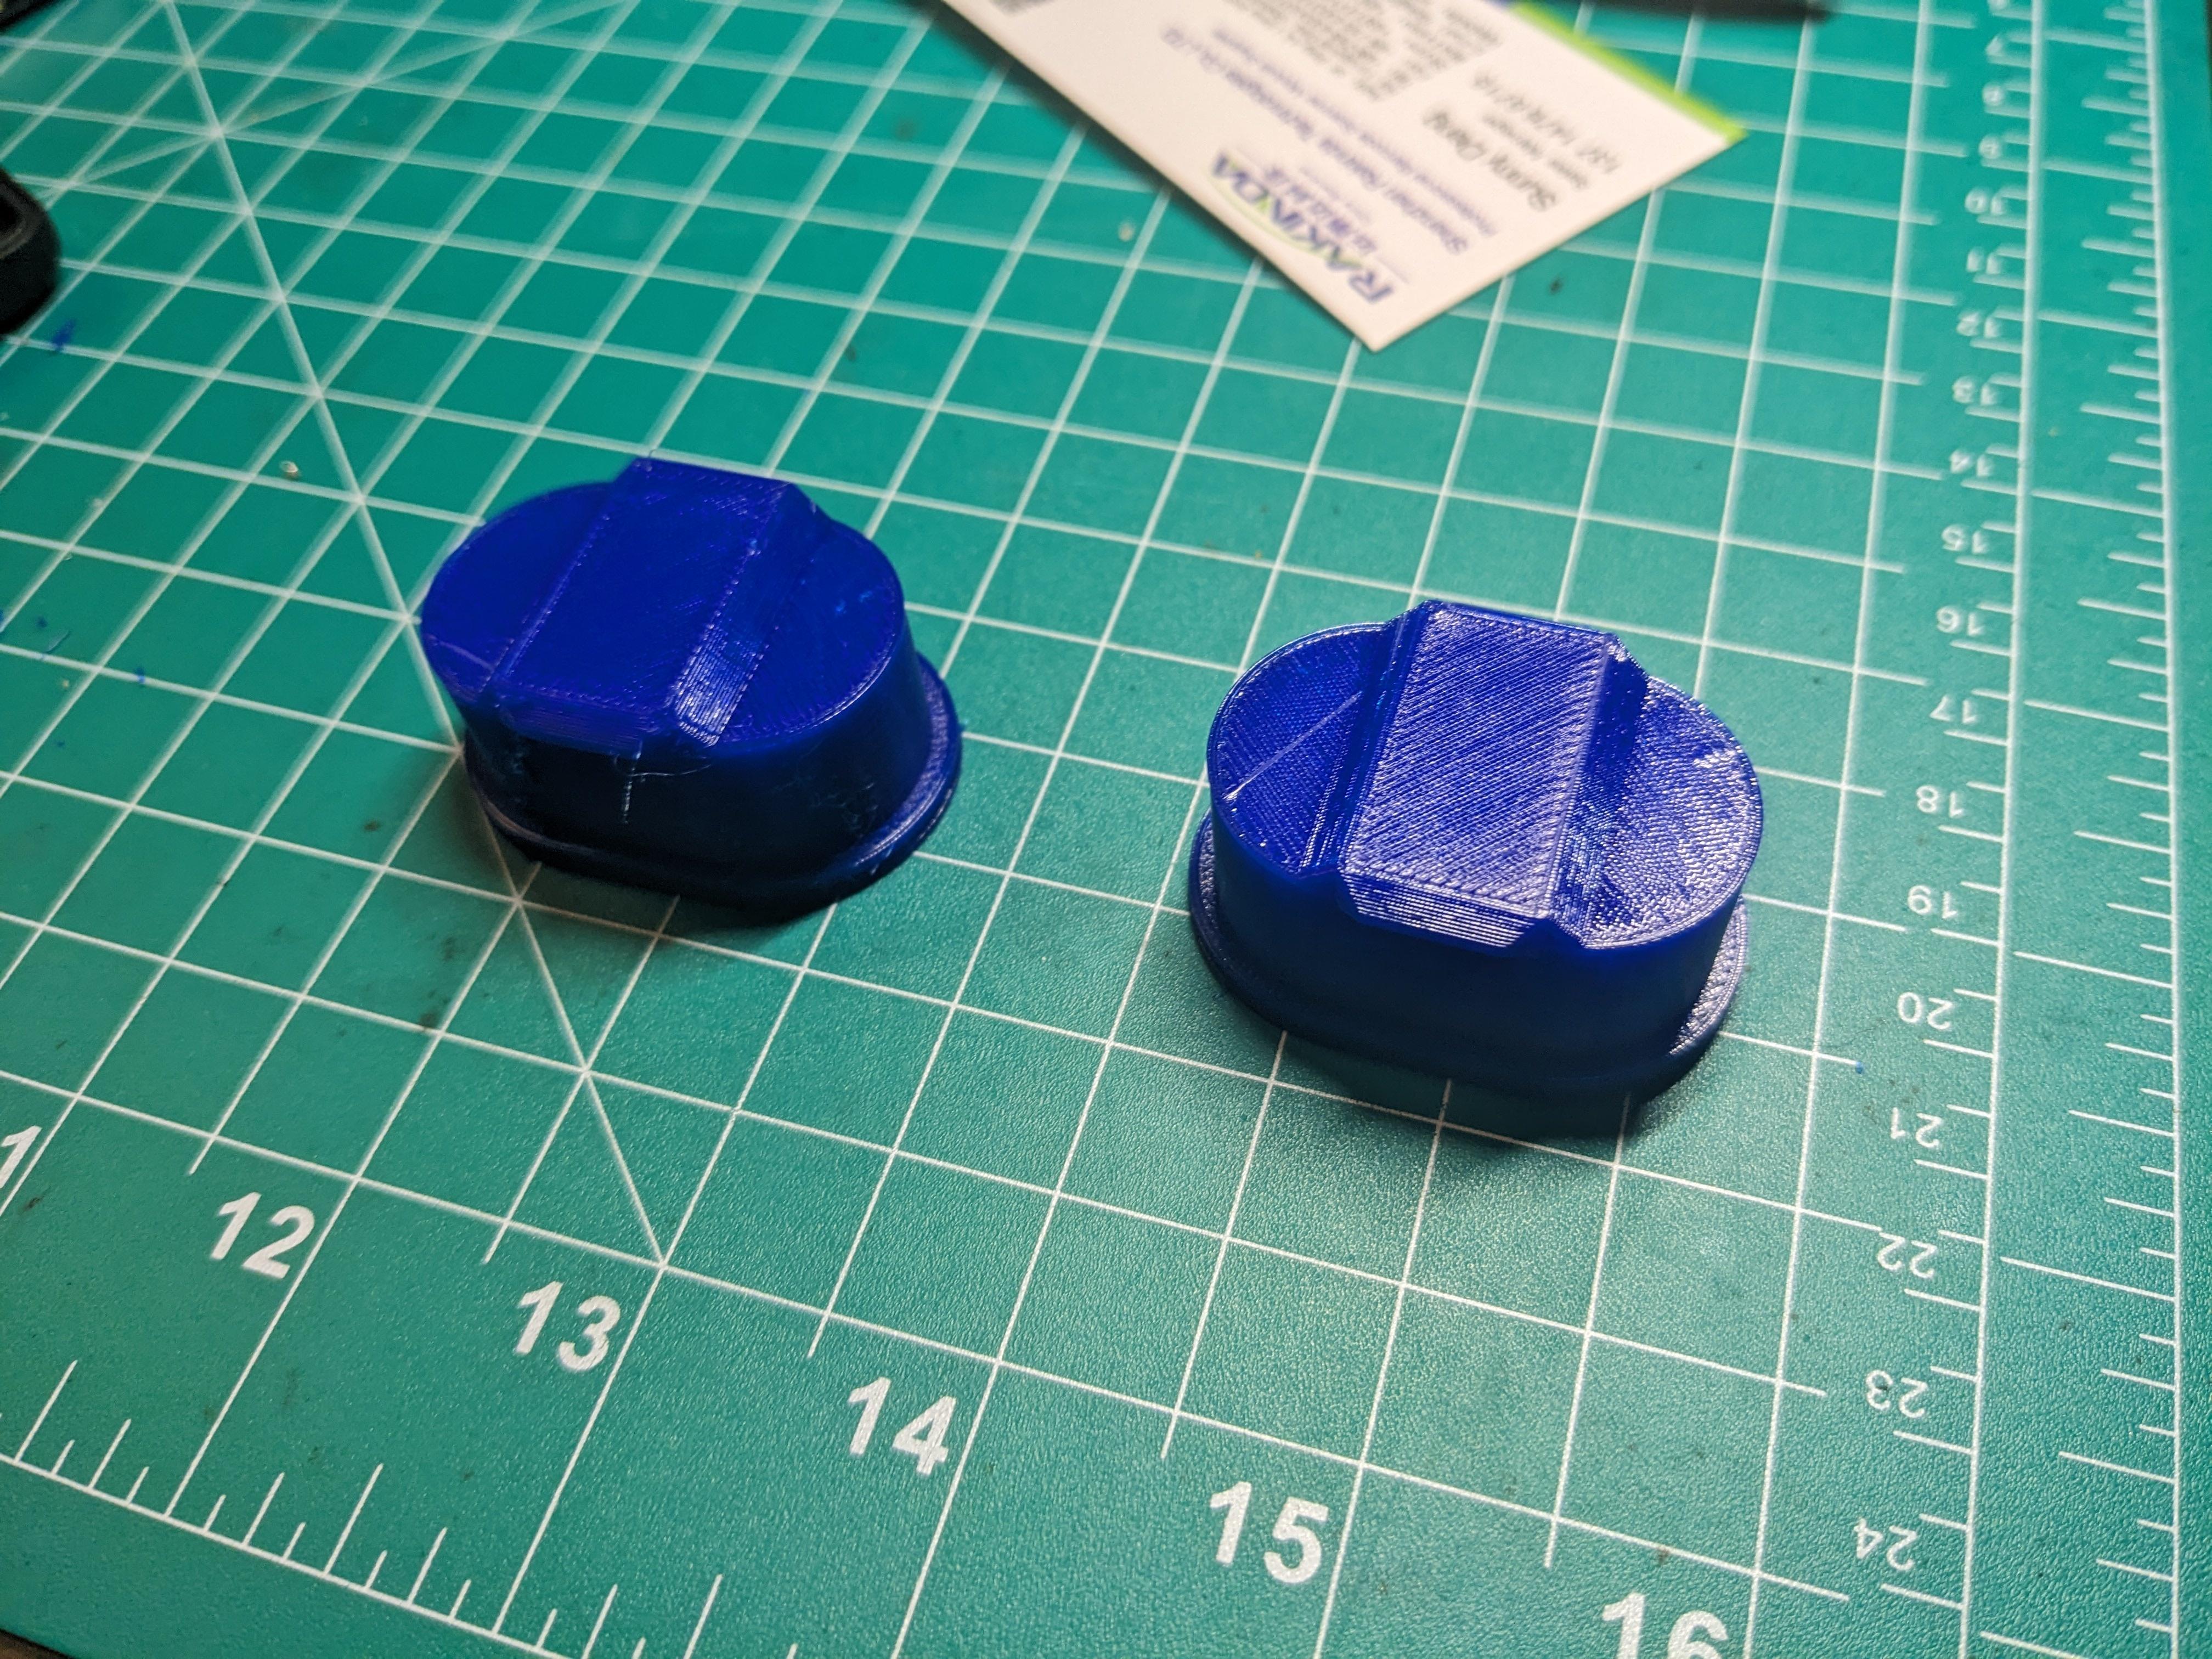
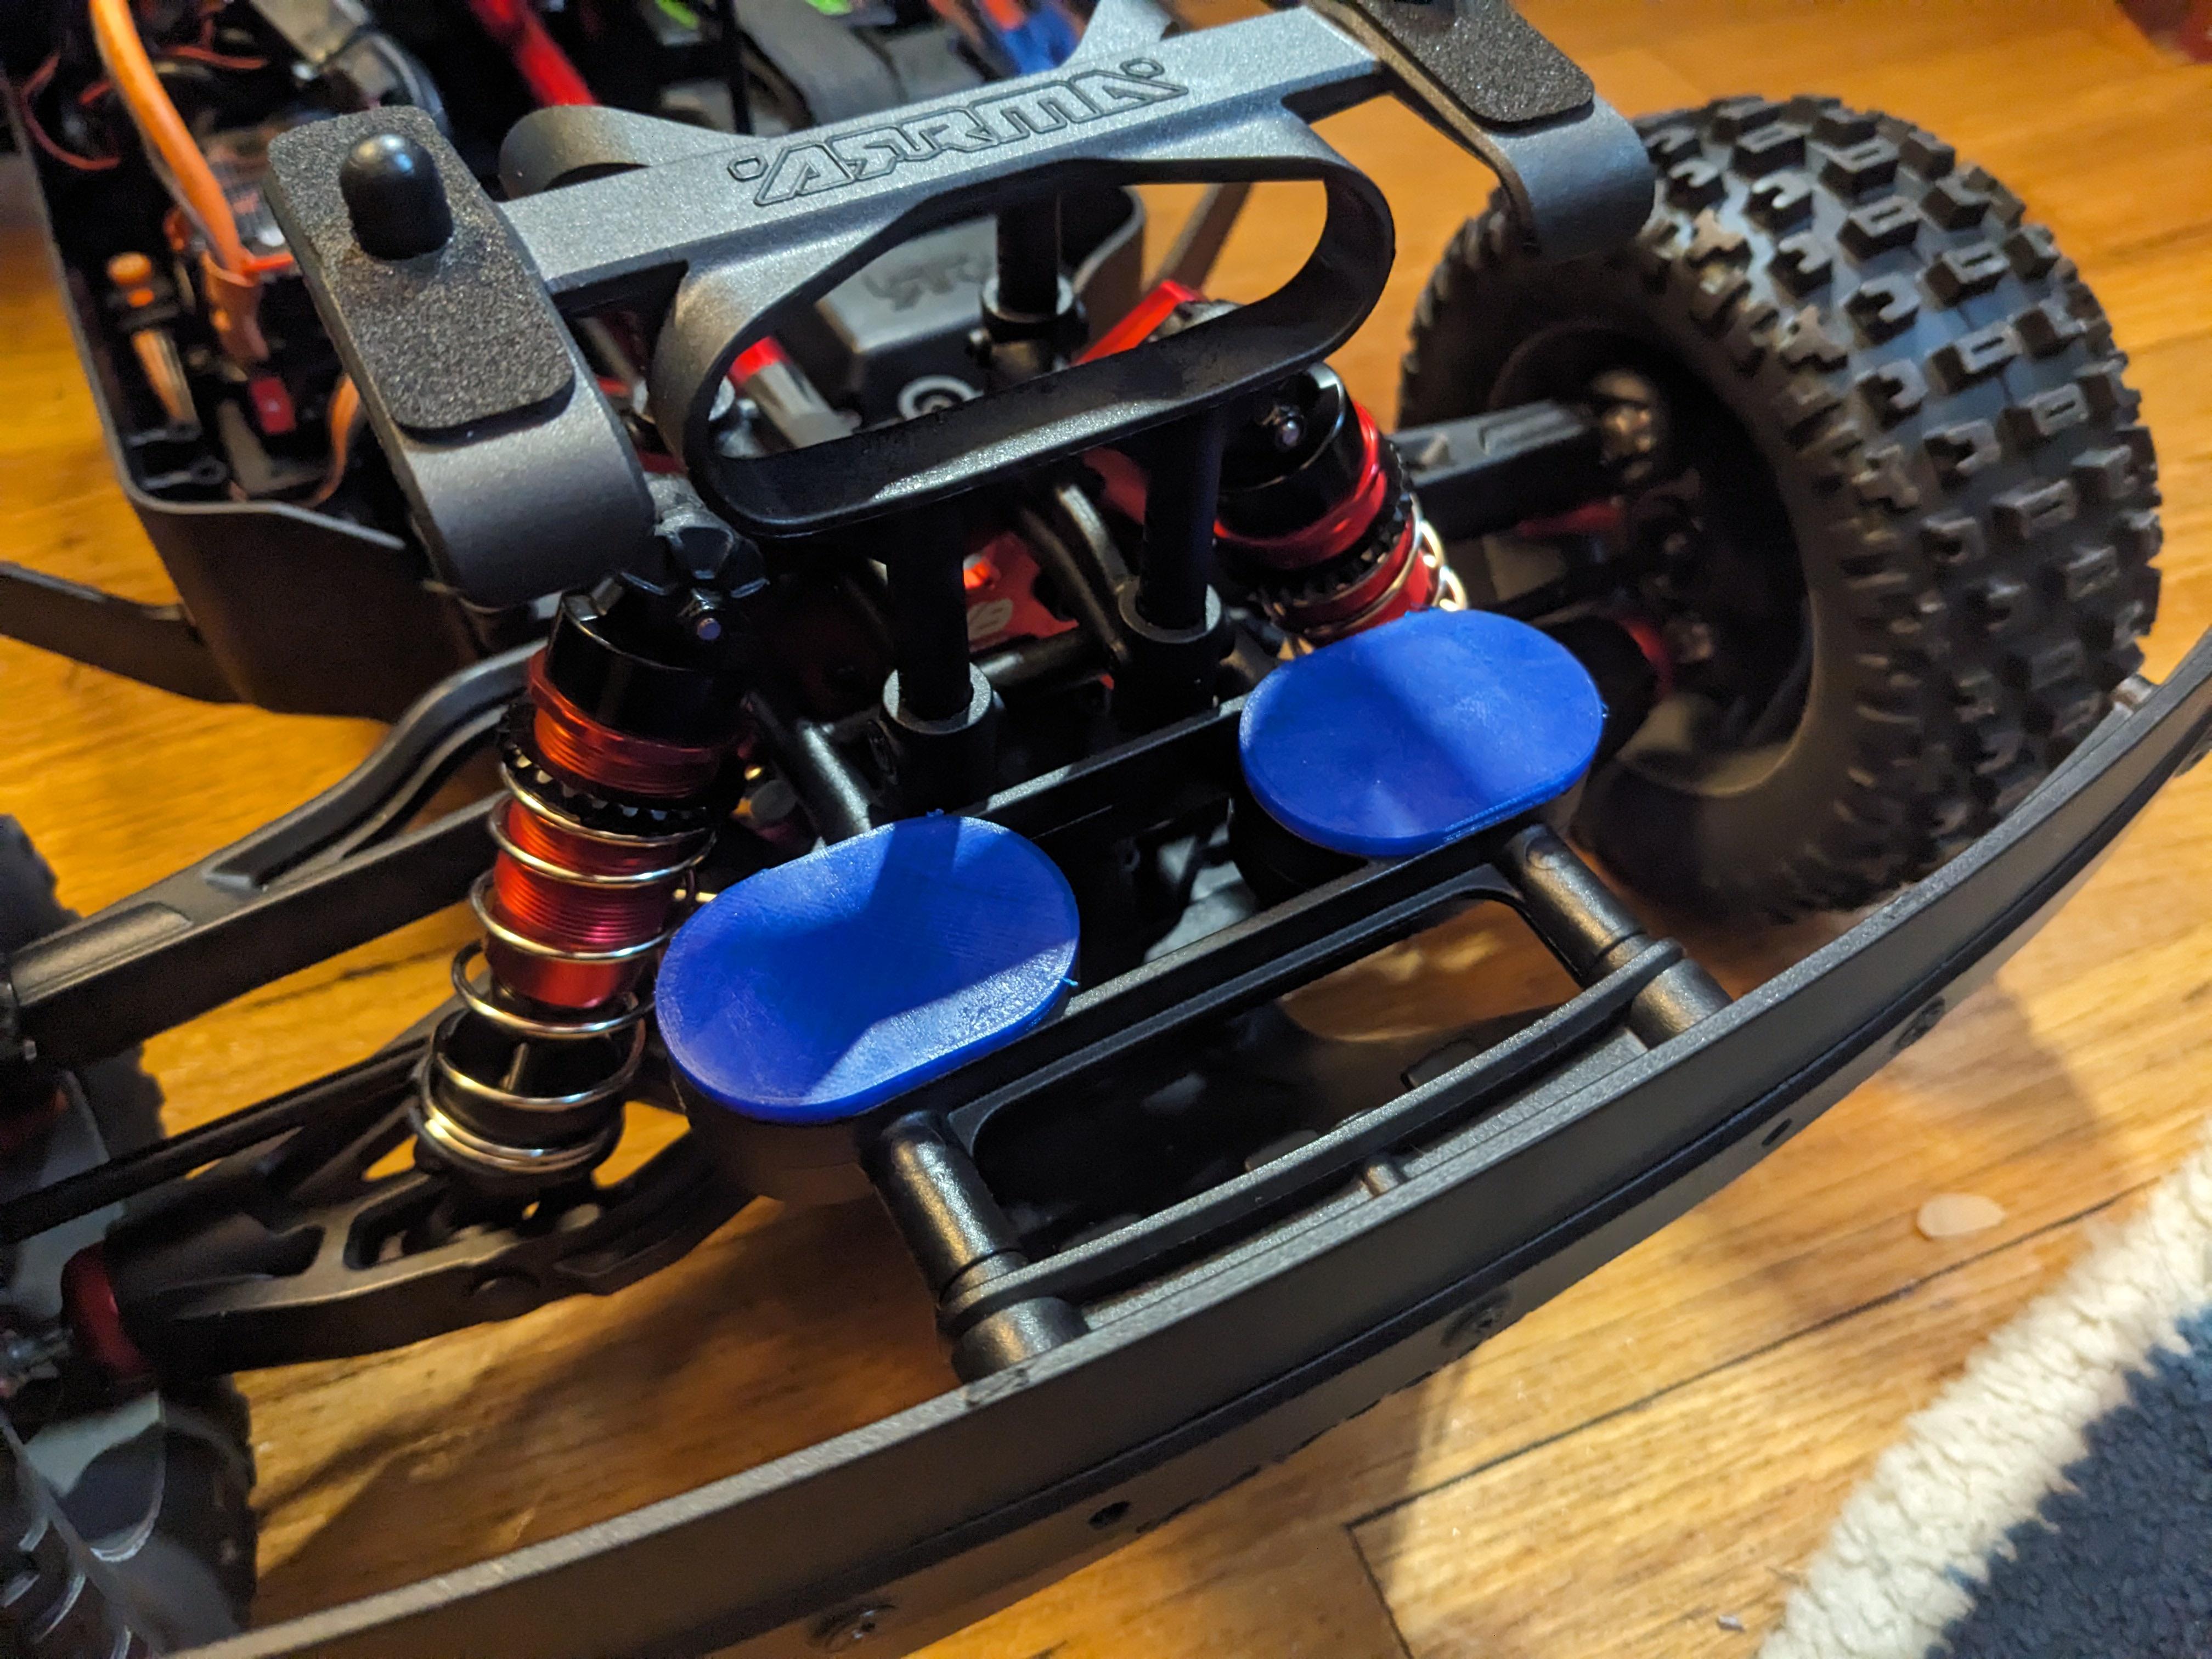
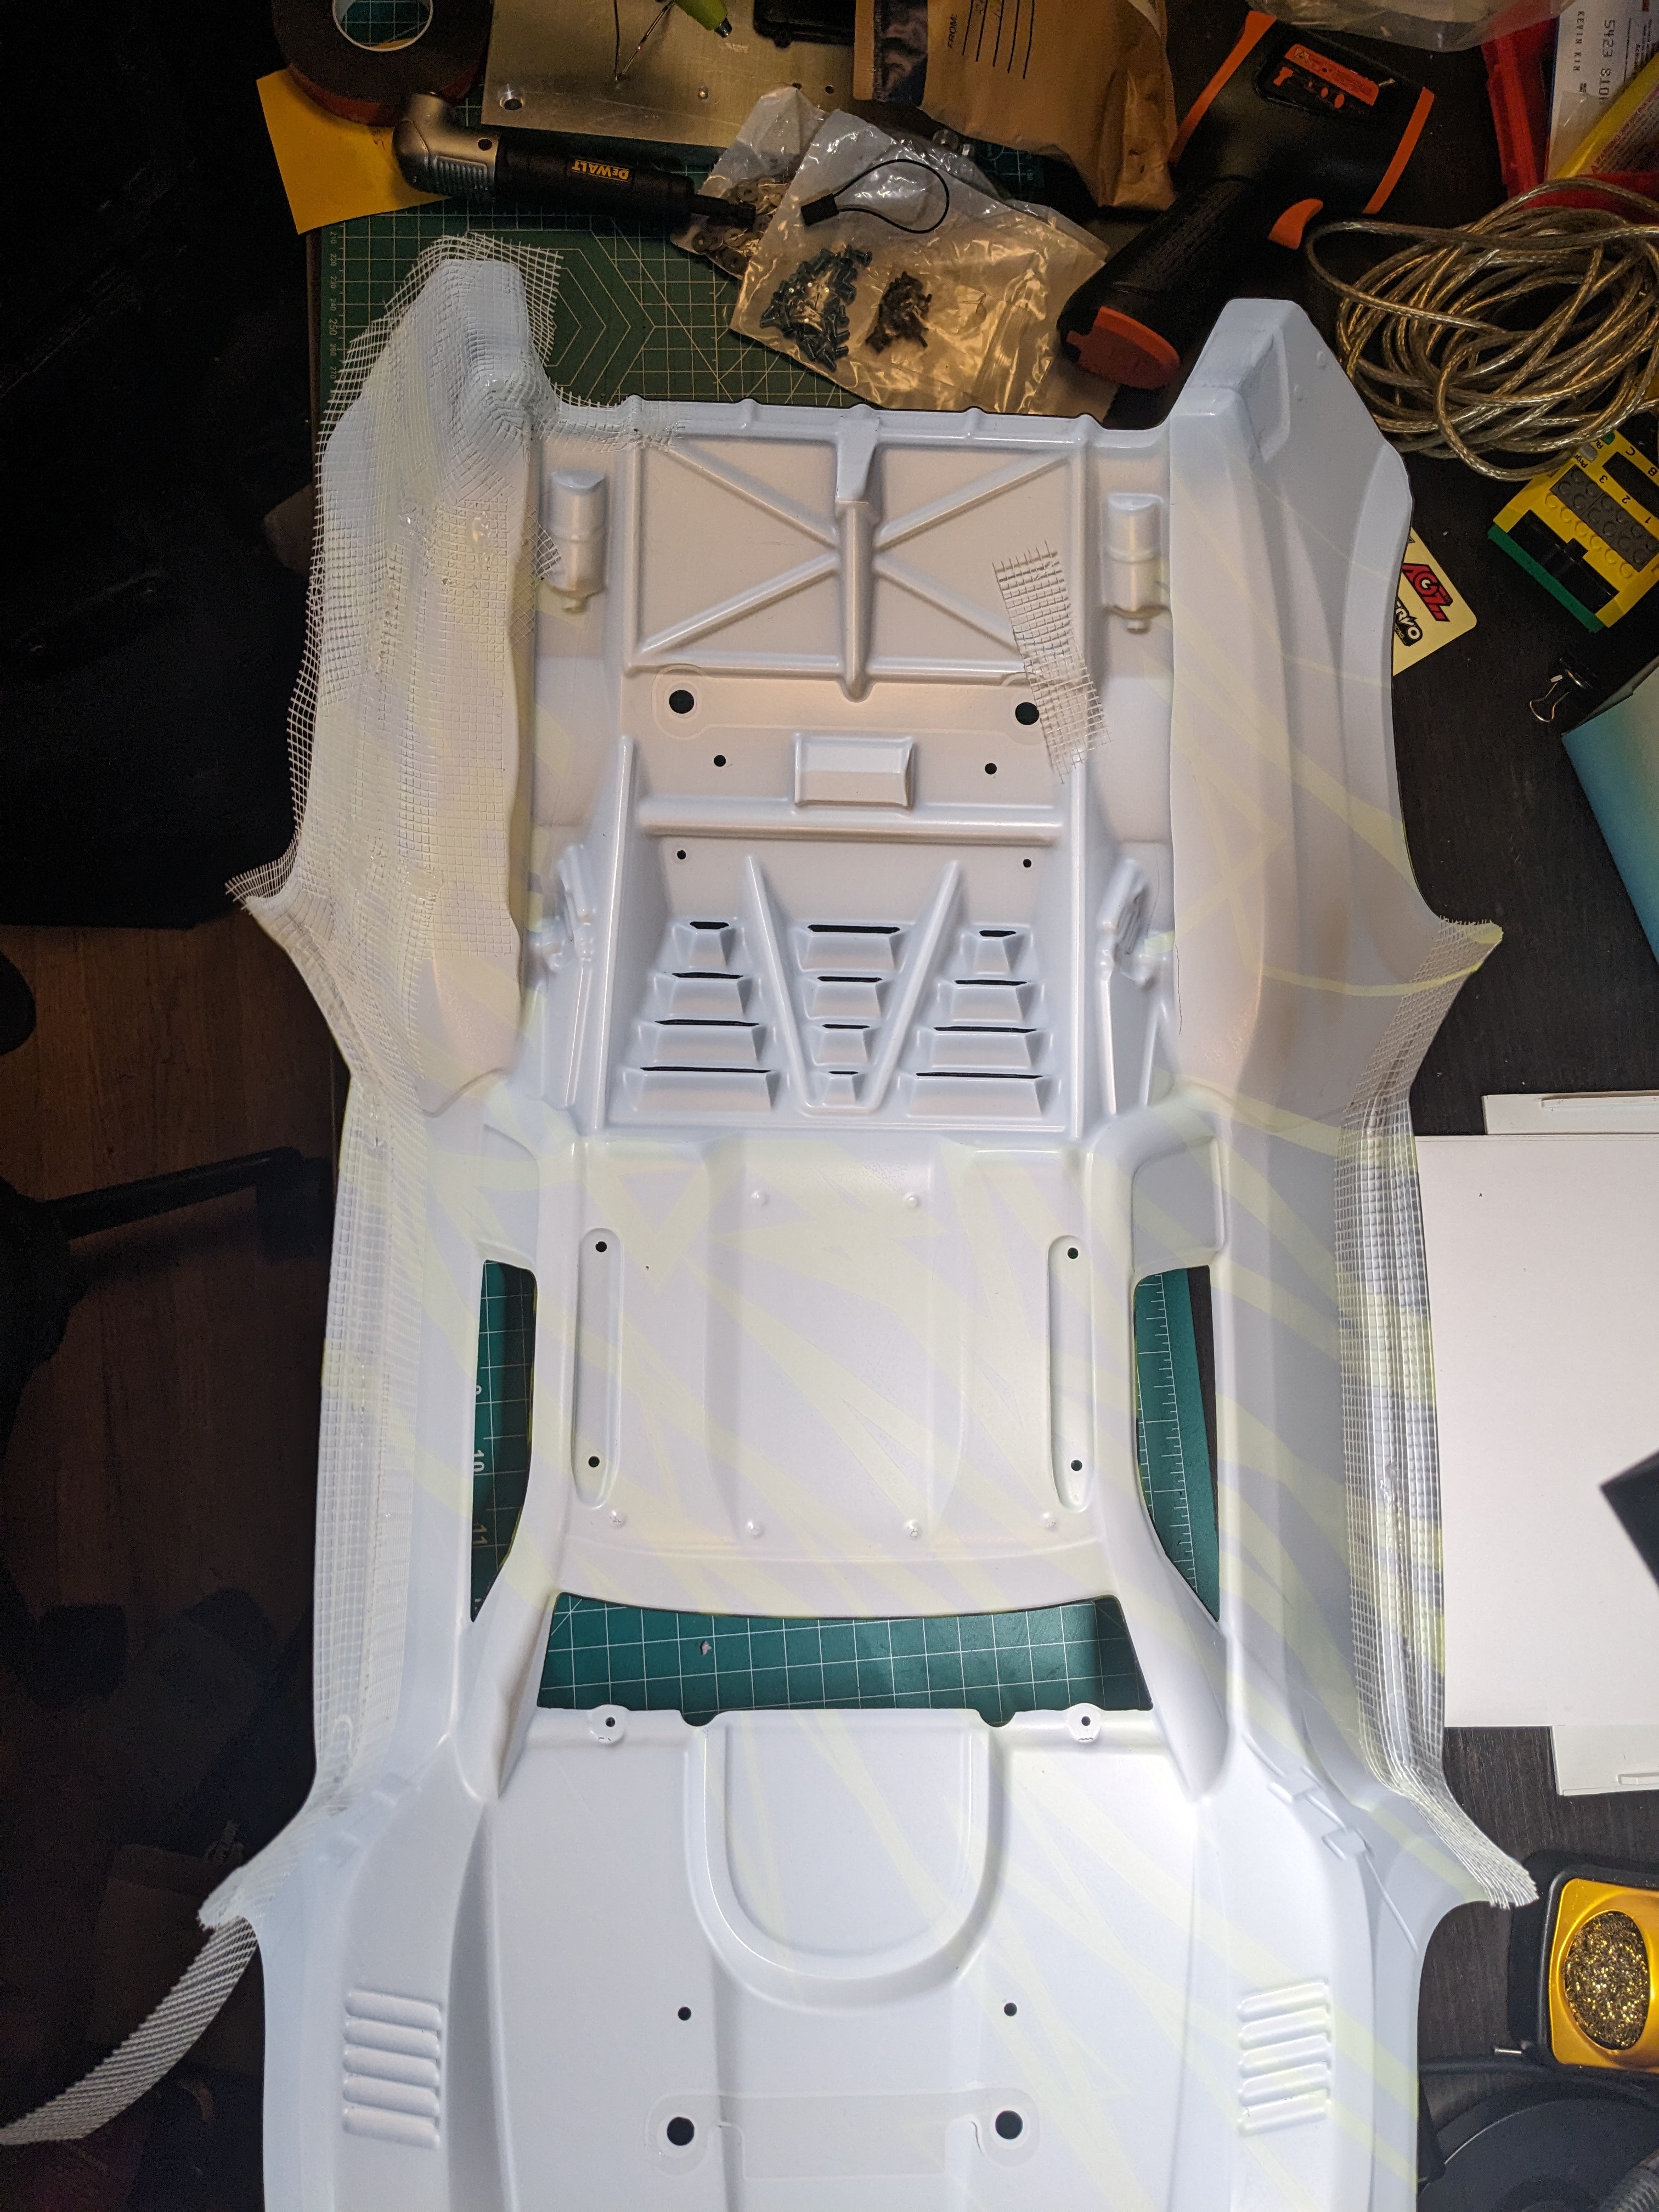
- Add window screen to Motor and ESC fans. Even driving on pavement, I noticed little pieces of gravel getting stuck in the fans on the Infraction. I think I saw the window screen trick somewhere on this forum.
- Install servo. Note - I read online that some people had received their kits with a 23T servo horn, so I ordered a servo that came with an aluminum horn. However upon receipt I realized my kit shipped with a 25T servo horn, so now I have a spare. All good!
Body reinforcement plan:
- Early on I decided I didn't want to go the full shoe goo + drywall tape route. However, I do want the body to last a while, and I have observed some weak points on my slash bodies.
- I'm not totally decided yet, but I think I'll selectively reinforce certain areas of the body with drywall tape and spray with Flex Seal. Mostly didn't want to bother with gooping on the Shoe Goo, and I think the spray-on application of Flex Seal will make things a lot faster.
Size comparisons:
Just for fun, I took some photos of the Mojave next to the Infraction V2 (albeit without its wheels) and my 2wd Slash. The Mojave is HUGE!
Last edited:
 I went low budget with mine too, I just like seeing how much I can get for the least coin..I feel the stock Firma system is plenty capable, all depends on where and how we use them. Mojo doesn't need much for servo, 35kg seems plenty, it has a quick feel in the steering even with a cheap servo I find.


 but yeah, I just buy, bash,break..repeat.