
- Thread starter
- #41
Well, my Overture print is done, it looks a lot like that last Ninjaflex print. A bit more stringing, and the corners still lifted.
The Overture came with a build surface, I'll try that before I try a brim.
Looking at your model, yeah, I like the lower zip-tie chamfer closer to 45deg. But why did you add the chamfer across the bottom?
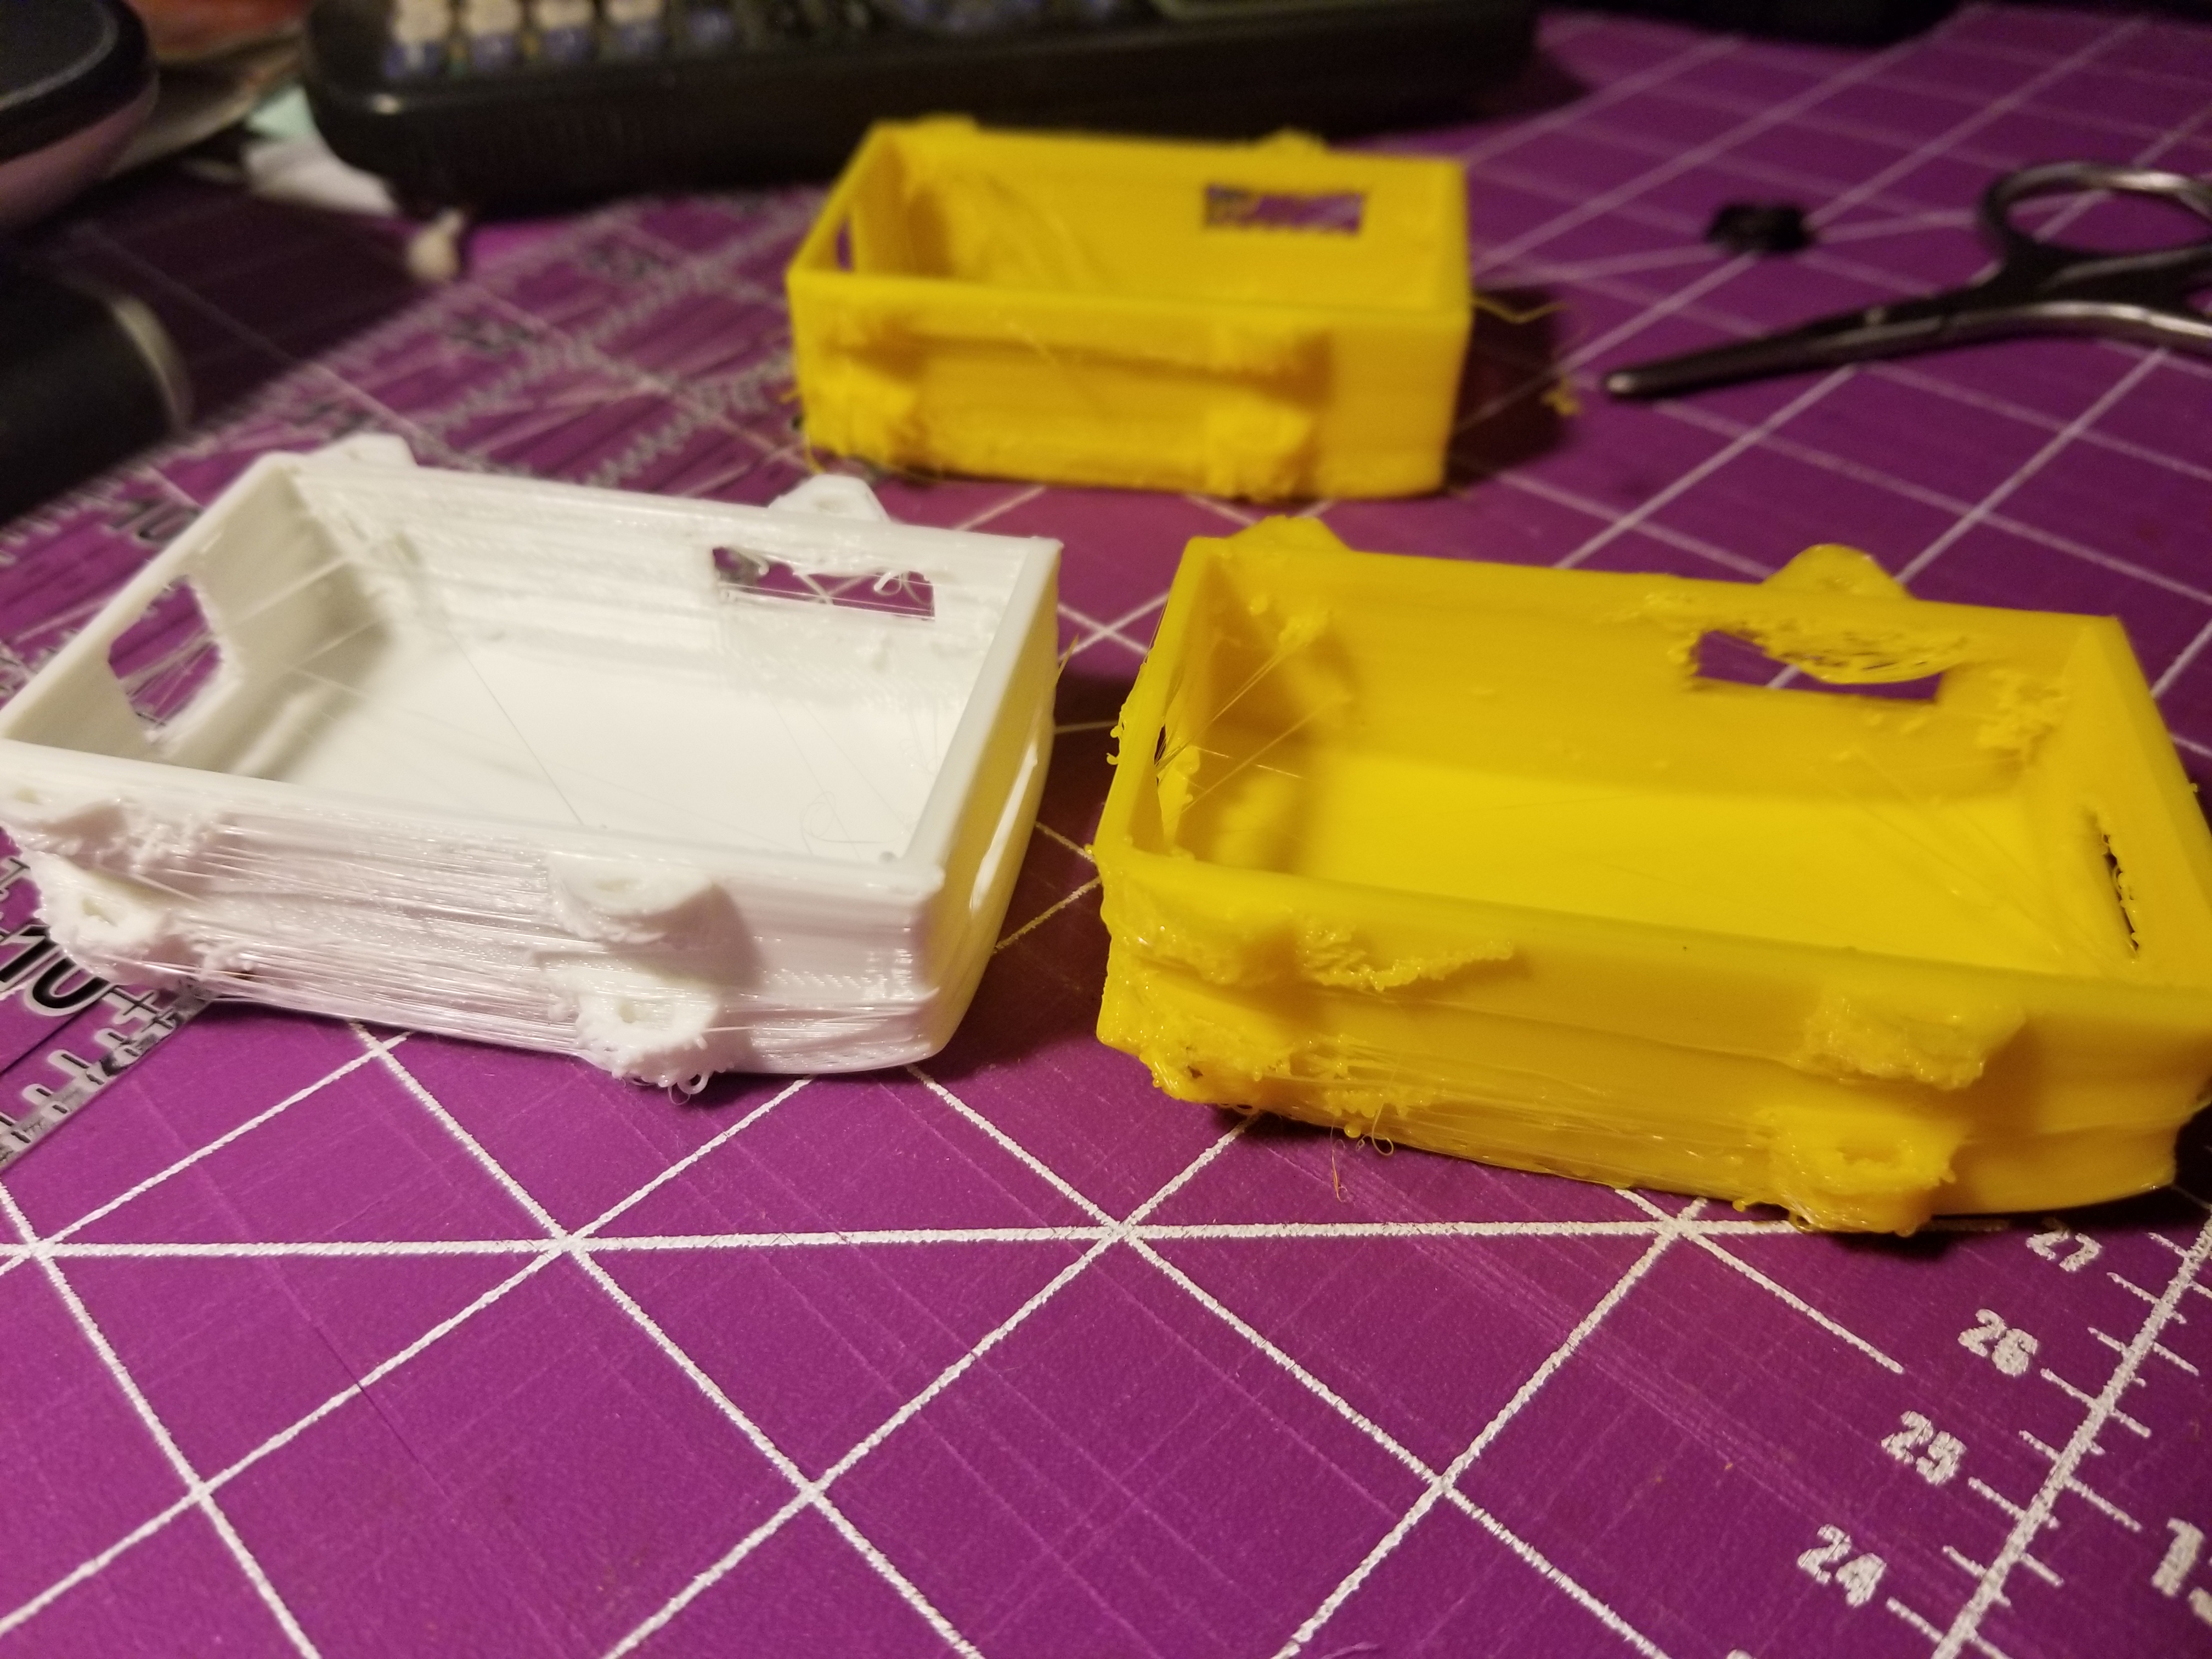
Latest try -
The Overture came with a build surface, I'll try that before I try a brim.
Looking at your model, yeah, I like the lower zip-tie chamfer closer to 45deg. But why did you add the chamfer across the bottom?
Latest try -
")

