bicketybam
Back from vacation!
Lifetime Premium!
Premium Member
Excellence Award
Build Thread Contributor
- Messages
- 13,394
- Reaction score
- 23,196
- Location
- New Milford, CT
- Arrma RC's
- BigRock 4x4
- Granite
- Infraction
- Kraton 8S
- Kraton 6s
- Kraton 4s
- Mojave
- Notorious
- Talion
- Typhon 6s
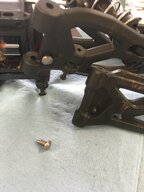
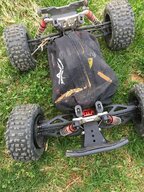
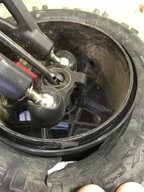
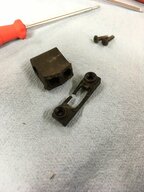
Are those shims in the first pic?OK. So I literally took the diff cup and held the outdrive in my vice so I could grab the pins with needle nose and manage to work them back-and-forth until I was able to remove them.
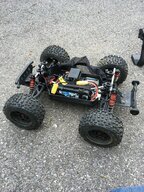
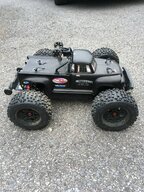
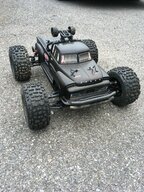
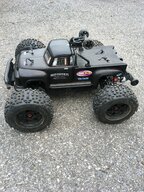
I then cleaned the parts so I could get a better look. Remember this truck had only maybe three battery packs run on it. At that point totally stock un-modified.
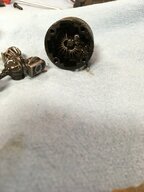
I can’t believe what I am seeing.
I thought that the fluid seemed much much darker than the front and back, but the condition of the internals is horrible.
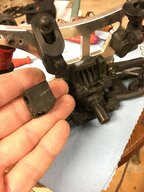
No wonder I couldn’t just slide the parts out like normal, they are deformed and worn as is the case itself.
Can’t say I am happy with this at all.
If I break a part, then does on me fine.
But I can’t imagine how I possibly caused this on my center diff??
Does anybody else have any thoughts?
")